Question · Flat roof rooflights
How Is a Flat Rooflight Weathered Into the Roof?
The upstand carries the weather, the glass does not
Every flat rooflight sits on an upstand: a short vertical box, usually 100mm to 150mm high, built from timber, insulated panel or the unit's own factory kerb. The glass and its frame sit on top of that box. The weatherproofing job happens lower down, where the upstand meets the roof deck, because that is where two different surfaces, horizontal deck and vertical box, have to be tied into one continuous skin.
This matters because it separates two questions people often merge: how high the kerb stands, and how the covering is fixed to it. Height is a drainage and sightline decision, covered on our kerbs and upstands page. Weathering is a sequencing decision: what gets lapped over what, and in which order, so water always runs down and off rather than finding a gap.
Dressing the roof covering up the upstand
Whatever covers the flat roof, single-ply membrane, torch-on felt or GRP laminate, that same material is taken up and over the upstand's outer face, not stopped at its base. A membrane is welded or bonded up the timber; felt is dressed and torched in one continuous run; GRP is laminated as a single wet resin skin across the deck and up the box, with a fillet at the internal corner so there is no hard right angle for cracking to start from.
The principle is the same whichever covering is used: the roof's own waterproof layer becomes the waterproof layer on the upstand too, rather than handing the job to a separate strip of flashing lower down. The differences between coverings, and what each one asks of the installer, are set out on our EPDM, felt and GRP page.
- The covering is dressed a minimum height up the upstand, typically 150mm, so wind-driven rain cannot track back over the top edge.
- Corners are formed as one piece where the covering allows it, or with a purpose-made corner detail where it does not.
- The top edge of the dressed covering sits under the cover trim, never over it, so water always drains onto a surface built to take it.
The cover trim closes the top of the joint
Above the dressed covering, the rooflight's own frame or a separate cover trim clamps down over the top edge. This is the part that looks like flashing from inside a loft or from a ladder, and it does two jobs at once: it mechanically holds the covering in place against wind uplift, and it sheds any water that reaches the top of the upstand back out over the roof rather than letting it sit against the joint.
On a factory-supplied unit this trim is usually aluminium, pre-formed to the kerb size and fixed with concealed screws, then capped or sealed at the fixing points. On a builder's upstand with a separately supplied rooflight, the same job is done with a code 4 or code 5 lead apron, or an aluminium trim cut and dressed on site. Either way, the sealant used at this stage is a secondary defence. The lap and the fall do the real work; sealant is there to close small gaps at corners and fixings, not to carry the joint on its own.
Falls, so the junction never sits in standing water
A flat rooflight is never actually flat: the glass itself has a built-in fall, and the roof around it is laid to fall towards outlets or a gutter. That matters here because the weathered junction at the base of the upstand is the lowest, most detailed part of the roof. If the surrounding deck falls towards the upstand instead of away from it, the junction sits in a puddle every time it rains, whatever the flashing looks like. Our page on why flat rooflights are not quite flat covers the fall on the glass; the same logic applies to the deck around the kerb.
Standing water against an upstand is also how a marginal detail turns into a failed one over a few winters, as sediment and moss collect at the low point and hold moisture against the joint. Our answer on standing water on flat rooflights goes into why some units pond and others don't.
Retrofitting the detail into an existing roof
Where a rooflight is being added to a roof that already has its covering on, the sequence runs in reverse at the start: the opening is cut, the upstand built or dropped in, and then the existing covering is cut back and re-lapped up the new upstand rather than simply sealed against its outside edge. Trying to seal a new upstand against an existing covering without lapping into it is one of the more common ways a retrofit leaks in its first winter. Our page on adding a rooflight to an existing flat roof walks through that sequence in full.
This is also the point at which a re-cover of the whole roof, if one is already due, makes the detail easier to get right, because the covering can be run up the new upstand as one job rather than patched against old material.
Why the detail is worth understanding before the quote
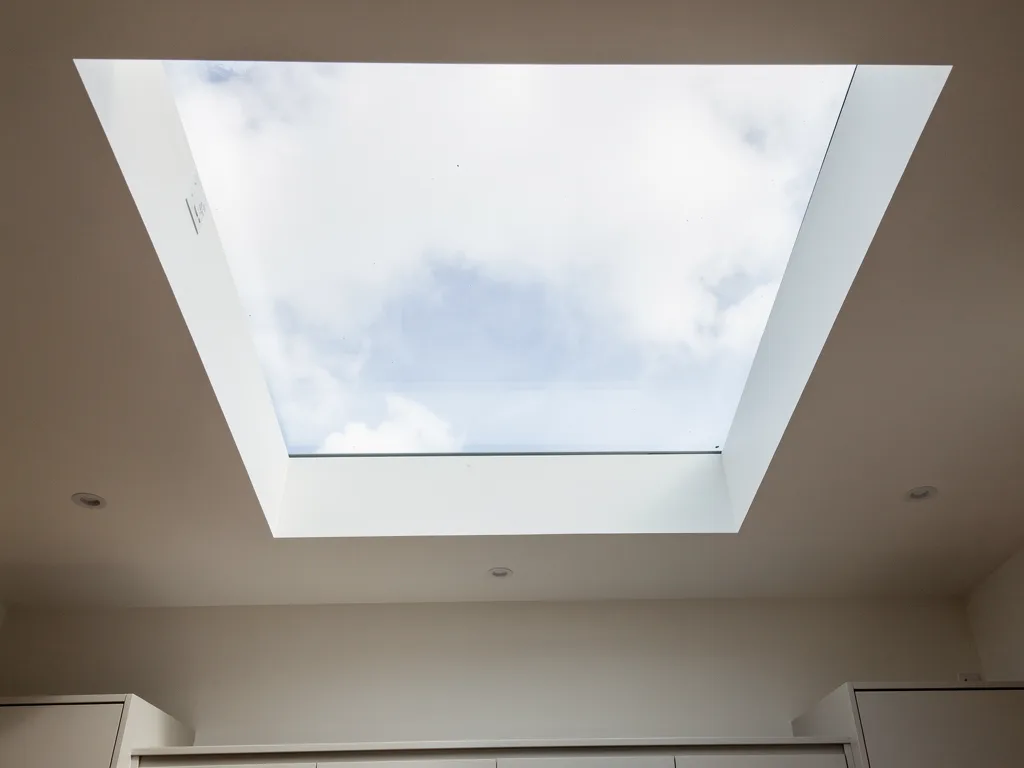
None of this changes what you see from inside the room, but it decides how long the view stays clear. A joint that sheds water properly never stains the ceiling below it or drips onto the glass from above. We show the upstand height and kerb line on the sightline sketch that comes with every quote, alongside the glass itself, because the kerb is part of what you will see looking up from a low seat or a bed even though the weathering detail sits below it. Work at this junction is also within scope of Building Control's structural and thermal checks; our page on what Building Control asks of a flat rooflight explains what gets checked and how we handle the notification. General guidance on what drives the price of getting this right is on our costs page, and the full range of flat rooflight work is on our flat roof rooflight installation page.
Questions people also ask
Does the flashing sit on top of the glass unit or below it?
Below it. The glass and its frame sit on the upstand; the flashing or cover trim closes the join between the upstand and the roof covering underneath the frame's outer edge. From inside, you see the frame and reveal, not the flashing itself.
Can the covering just be sealed to the upstand instead of lapped up it?
Sealant alone is not a lasting fix. A bead of mastic against the outside of an upstand will crack and shrink with weather and movement, and once it does, there is no second line of defence. Lapping the covering up the face of the upstand means the roof's main waterproof layer is doing the work, with the sealant only closing small gaps at corners and fixings.
Does every roof covering need a different weathering approach?
The principle is the same, lap the covering up and over the upstand, then cap the top edge, but the method differs by material: membrane is welded or bonded, felt is torched, GRP is laminated as one skin. Our EPDM, felt and GRP page sets out what each one needs.
How would I know if an existing junction has failed?
Staining on the ceiling below the upstand, dampness in the loft or void around the kerb, or moss and standing water sitting against the base of the frame after rain are the usual signs. A failed junction rarely shows on the glass itself first.
Book a home visit
Tell us which room
- No obligation
- Sightline sketch included
- 10-year guarantee
Or call 01733 736163