Roof Lantern Installation in Peterborough

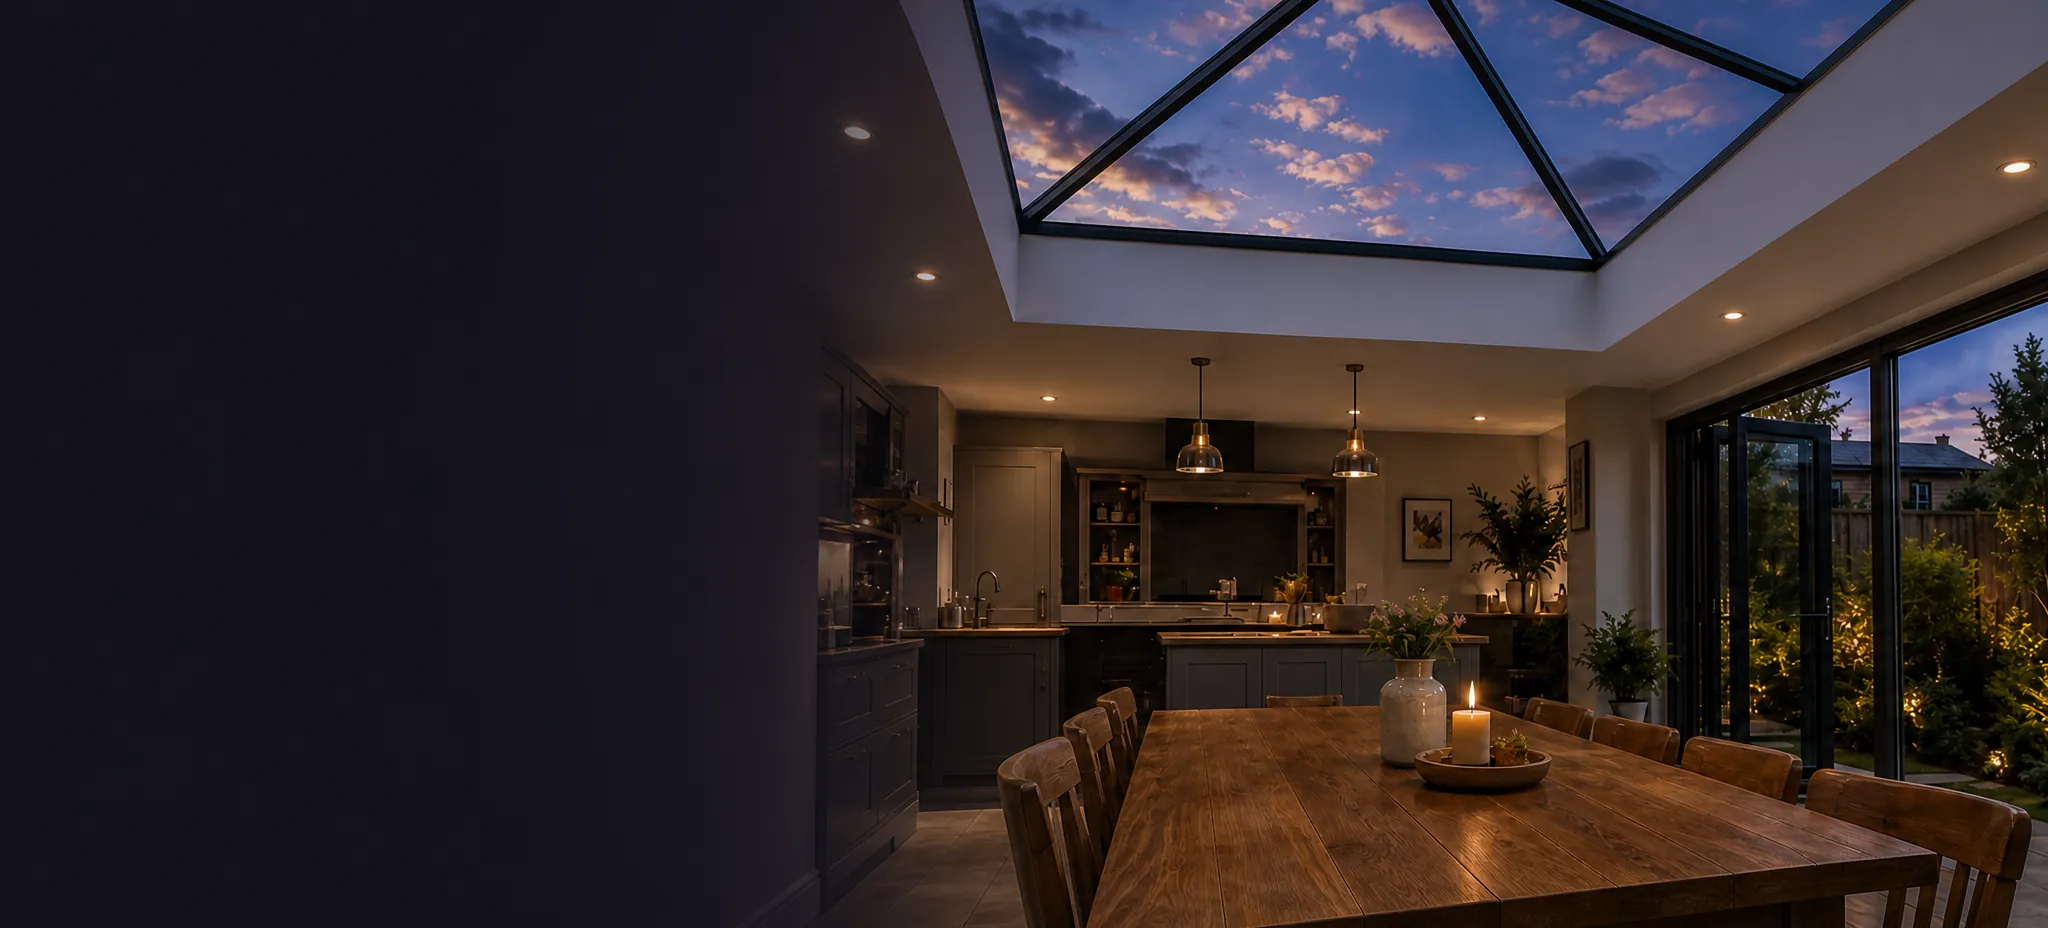
A roof lantern planned from the chair you will sit in: sized to the room, bars kept out of the centre of the view, and glass chosen for the way the extension faces. Installed across Peterborough and 30 miles around.

What every roof lantern job includes

  • A sightline sketch from the table
  • Kerb or upstand built true and insulated
  • Lantern supplied, fitted and sealed
  • Plastered, made good and guaranteed for 10 years
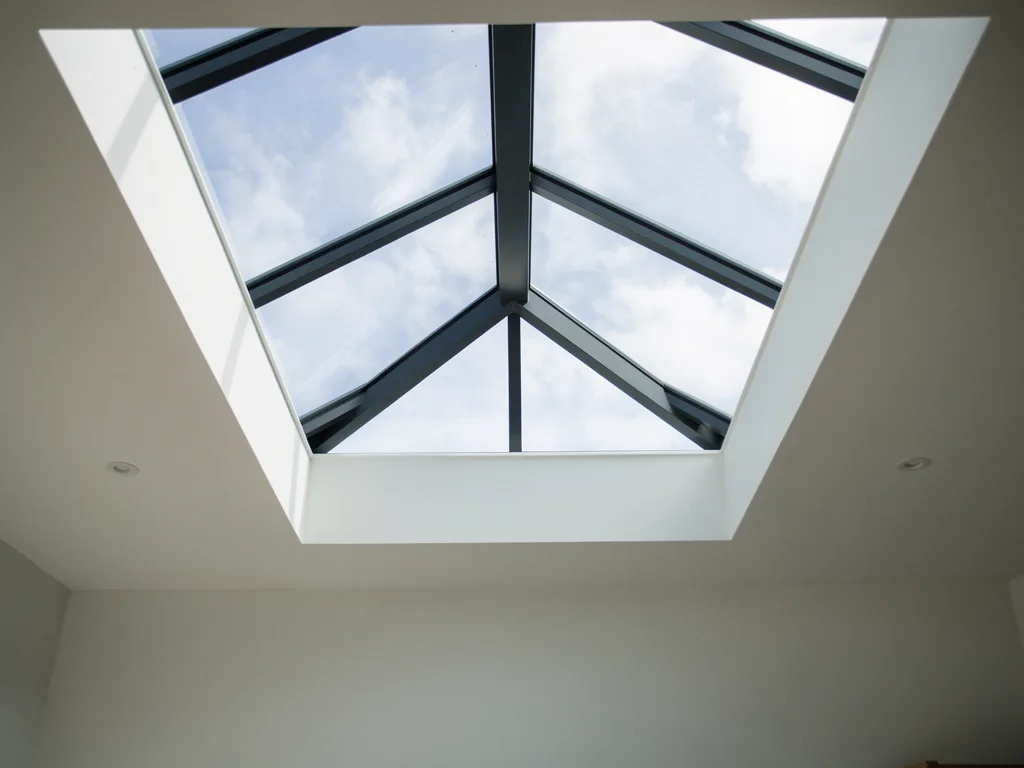
A finished roof lantern in a Peterborough home

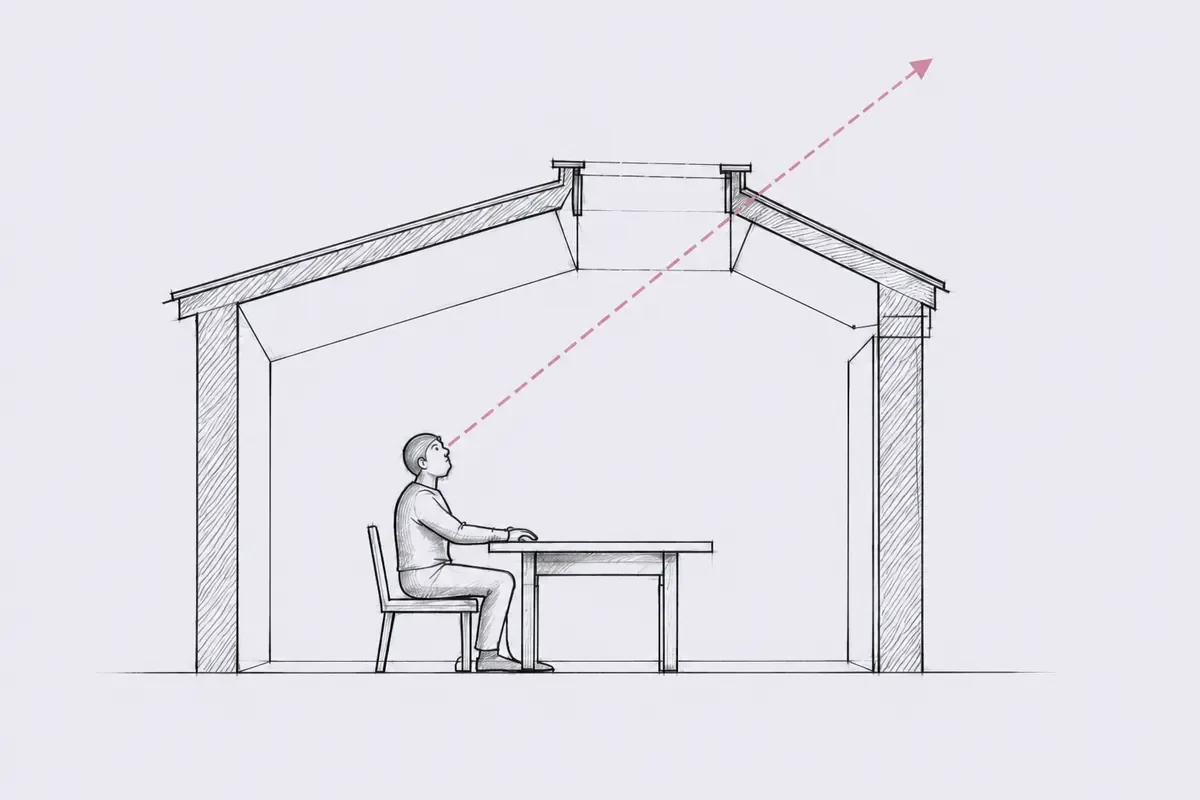
Placed over the table, not the walkway

A side section: a dotted line rises from where a person sits, through the roof lantern, to the open sky
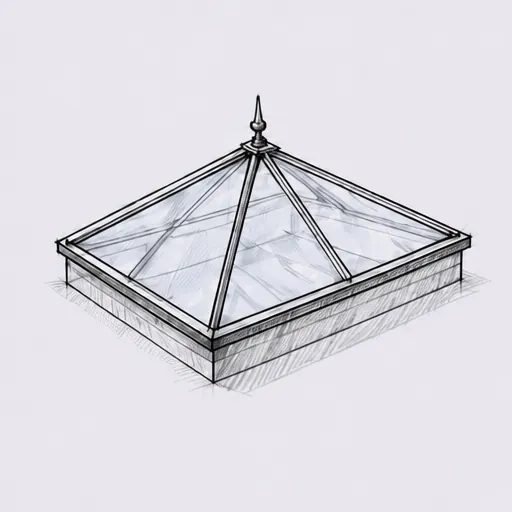
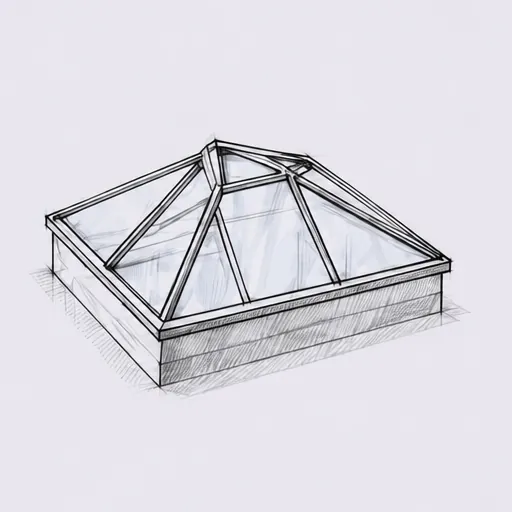
  • Pyramid

  • Double hipped

  • Contemporary flat top

Choosing the roof lantern

Roof lantern options
FrameSlim aluminium bars, colour matched
GlassSolar control double or triple glazing
OpeningFixed, or with an electric vent
BlindsFitted between the rafters

Sizing a lantern against the room and the roof

A roof lantern gets sized twice: once against the room below, so it sits settled in the ceiling, and once against the roof it goes into, so the joists, the falls and the drainage still work around it.

Start with the room, because that is where you will judge it every day. A lantern skylight that fills the ceiling edge to edge looks like the roof has been left off. One that is too small reads as an afterthought, a glazed box perched on a flat roof with a narrow shaft below it. The proportion that tends to look right is an opening somewhere between a third and a half of the room's width, running along the room's longer side, with a clear border of flat ceiling all round. Treat that as a starting point for the drawing, not a formula. A tall ceiling can carry a bigger lantern; a low one, or a room with a steel beam over the doors, often wants a smaller, longer shape.

That flat border matters more than it first appears. Around 500 to 600mm of plain ceiling between the lantern lining and the walls gives the eye a frame to read the sky against, leaves room for downlights and pendant fixings, and keeps the lantern clear of the steel or lintel that carries the doors. Take the border away and the lining runs straight into the wall plaster, which makes the room feel lopsided when you stand in the doorway.

Take a typical single-storey rear extension off a Fletton brick terrace: about 3 metres deep and the full width of the house. The long axis runs across the plot, so the lantern runs across it too, parallel to the back wall of the house. On a wider extension in Hampton or Werrington, perhaps 4 by 5 metres, the lantern can be longer and a little wider, and the question moves from "how big" to "where exactly", which is the section further down. Our guide to sizing a roof lantern for your extension works through room shapes and ceiling heights in more detail.

Then the roof decides what is possible

Every lantern sits in a hole in the roof deck, and the hole cuts through joists. The joists that are cut have to be picked up by new trimmers, and the trimmers carry that load back to the joists either side. So the direction the joists run, their size and their span all shape the opening. An opening that runs with the joists cuts fewer of them than one that runs across them. A bigger opening, or one in a roof with shallow joists, may need doubled trimmers, a timber or steel beam, or an engineer's calculation before anyone picks up a saw.

The lantern also adds weight. A double-glazed lantern with a laminated inner pane is a heavy thing spread along a narrow kerb, and snow load has to be allowed for on top. On a new extension this is designed in from the start. On an existing flat roof it has to be checked, which is exactly what our answer on whether your flat roof can take the weight of a roof lantern covers.

Two more measurements catch people out. First, flat roofs are not flat: they fall towards a gutter or outlet, and guidance for flat roofs aims for a finished fall of at least 1:80, which means designing for about 1:40 to allow for deflection and building tolerance. The lantern itself has to sit level, so the kerb under it is built deeper on the low side than on the high side. Second, the size on a lantern's order is usually the outside of the kerb it sits on, not the hole you see from the kitchen. The kerb walls and lining take up some of that, so the clear opening from below is smaller than the headline size. When we draw your lantern we give both numbers, so nobody is surprised on the day.

Bars, ridge and the view up from the chair

From below, a lantern is mostly sky with a pattern of lines across it: a ridge, four hips and a row of glazing bars. Where those lines fall, and how thick they look, decides whether you see open sky or a grid.

It helps to name the parts. The ridge runs along the top, down the lantern's length. The hips run from each end of the ridge down to the corners. Between them sit the glazing bars, sometimes called rafters, holding the individual panes. Around the bottom runs the eaves beam, which sits on the kerb or upstand. On a contemporary lantern with a very shallow ridge, or a pyramid on a square room, the proportions change, but the parts stay the same. The shapes themselves are compared in our guide to pyramid, double hipped and contemporary lanterns.

Roof lantern anatomy: ridge, hips, glazing bars and glass on a kerb or upstand above a flat roof RidgeHip barGlazing barKerb or upstandFlat roof
Bar count and bar width shape the view up through a lantern as much as its size does.

The width of each bar, seen from underneath, is the first thing to look at. Older PVCu lanterns carried bulky bars, partly for strength and partly because the plastic needed a steel or aluminium core inside it. A modern aluminium lantern can show a much slimmer face to the room because the metal does the structural work on its own. The difference is easy to see standing under both: with the slim system, the bars read as fine lines against the sky; with the bulky one, they read as a ceiling with holes in it. Our guide on aluminium roof lanterns and slim rafters sets the profiles side by side.

Next comes the number of bars. Each pane has a maximum size set by the maker, which depends on the glass build-up and its weight. A longer lantern needs more panes, so more bars. Fewer, wider panes mean fewer lines across the sky, but heavier glass units and sometimes a deeper bar to carry them. There is a balance to strike, and it shifts with the glass you choose: a triple-glazed or thick laminated unit may push the pane size down.

Then there is the spacing, which is where the view is won or lost. On most lanterns the bars on each long slope are spaced evenly from the hips. If the number of panes on a slope is even, a bar lands dead centre; if it is odd, a pane lands dead centre. Over a dining table, that centre line is the one everyone looks along. A bar right down the middle splits the sky in two from every seat. A pane in the middle gives a clean rectangle of sky with the bars stepping away to either side. That is a choice the maker can often accommodate by adjusting the pane count, but it has to be made before the lantern is ordered, not noticed after it is fitted. The detail is set out in roof lantern glazing bars and the view up.

Where your eye actually lands

Sitting at a table, your eyes are roughly 1.1 to 1.2 metres off the floor. Standing at a worktop, nearer 1.6 metres. From a chair beside the lantern, you look up and across, so the near slope is almost overhead and the far slope is what fills your view. Much of what you see is the far slope's glass and bars, framed by the lining on the near side. From the middle of the table, you see both slopes and the ridge running away from you. That is why we draw the view from the seats that matter, rather than from the middle of the room, and why the ridge height and the far-side bar pattern get as much attention as the plan view on the drawing.

Frame colour plays a part too. A dark grey or black frame reads as a crisp silhouette against a bright sky and tends to look thinner than it is. A white frame blends with a white ceiling but stands out against the sky, and it shows grime more readily on the outside. Neither is wrong; it depends on whether you want the lantern to disappear into the ceiling or to draw a clean line around the sky.

Placing the lantern over the table, the island and the doors

The best place for a lantern is over the part of the room people use most, which is rarely the exact centre of the ceiling. We plan it around the table, the island and the doors, then check it against the structure.

Extensions usually have one fixed piece of furniture that anchors the room: a dining table, an island, or a sofa facing the garden. A lantern centred over that anchor feels deliberate. One centred on the ceiling while the table sits off to one side puts the brightest part of the room over an empty walkway, and leaves diners looking up at a lining rather than the sky. If the table will move, or the room has two zones, it can be better to size the lantern to cover both rather than guess.

Before we fix a position on the drawing, we mark up the room plan with the things that pull the lantern one way or another:

  • the table, its seats and which way people face;
  • the island, the hob and any ceiling-hung extractor or pendants;
  • the door heads, the steel or lintel above them and the width of the opening;
  • the joist direction, any existing trimmers and the roof outlet;
  • downlights, the light switch runs and where a blind motor would need power;
  • the spot where you will stand or sit most, which is where the sightline is drawn from.

Islands bring their own questions. A lantern over an island is lovely from the stools, but if a hood extractor hangs from the ceiling above the hob it has to come down through the flat border, not the lantern. Pendants over the island need the same flat ceiling. Sun on a gloss worktop can bounce glare into the eyes of whoever is cooking, which is worth checking against the way the extension faces. Our guides on planning a roof lantern around the kitchen table and positioning a roof lantern over a kitchen island go through both layouts.

Bifold and sliding doors are the other pull. It is tempting to line the lantern up with the doors, and sometimes that works well: the sky above and the garden ahead share a centre line. But the steel beam over a wide door opening often lands exactly where a lantern would want to be, and the lantern has to sit clear of it. Lining up is a design choice, not a requirement, which is what our answer to whether a roof lantern needs to line up with bifold doors explains.

Every quote includes a sightline sketch: a drawing from the seat or spot that matters, showing where the bars and lining edges fall and how much sky you get. For a lantern, that usually means one sketch from the head of the table and a plan showing its position against the furniture.

Upstands and kerbs: the part nobody photographs

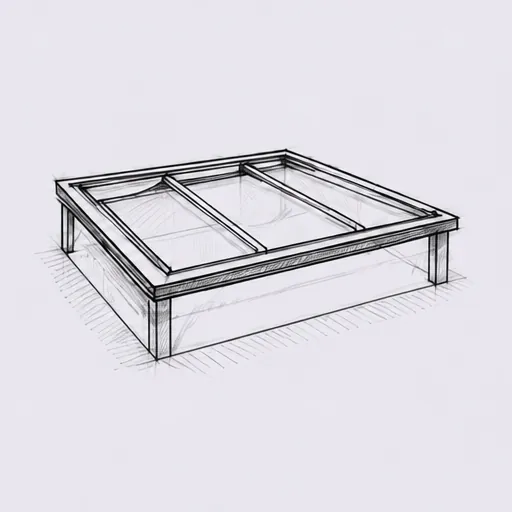
The upstand lifts the lantern clear of the roof surface so water runs past it, and it sets how deep the lining is inside. Get the height and insulation right and the lantern stays dry and warm; make it deeper than it needs to be and the view from below narrows.

There are three common ways to build one. A timber kerb is framed on site from treated timber, sheathed in plywood and insulated, with the roof covering dressed up its sides. A prefabricated insulated upstand arrives as a finished box, made to size, with insulation built into its walls and a consistent top for the lantern to sit on. Some lantern systems include their own upstand as part of the frame. Each has its place. A site-built kerb adapts to an awkward roof and an uneven fall; a factory upstand is quick, square and predictable. The pros and cons are laid out in roof lantern upstands: timber, kerb or insulated.

Height comes first. Flat roof guidance looks for the waterproof covering to turn up at least 150mm above the finished roof surface at any upstand, so that standing water, wind-driven rain and snow cannot get over the top. On the low side of a sloping roof that 150mm is measured from the lowest point, which is why kerbs are often taller on one side than they look from the ground. Going much higher than needed buys nothing outside and costs you inside.

Inside, the lining runs from the ceiling up to the underside of the lantern frame. Its depth is the ceiling void, plus the roof deck and insulation, plus the upstand. On a warm flat roof with a thick insulation board, that can easily be 400mm or more. A deep, square lining acts like a short tunnel: from directly underneath you see the full lantern, but from a chair two metres away the near edge of the lining cuts off a strip of the far slope. A splayed lining, angled outwards as it drops to the ceiling, opens the view back up and spreads light across the room. Where the structure allows it, we splay the lining on the sides you look from.

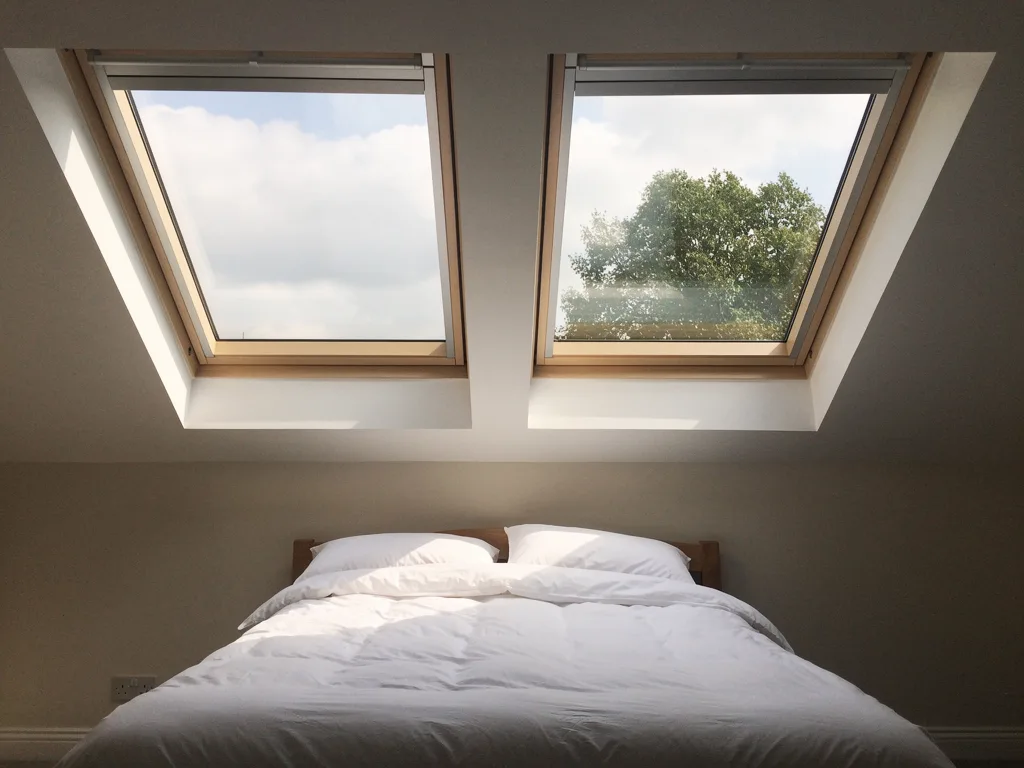
Side section: a dotted sightline rises from a seated eye position through a roof window to the open sky Eye positionFrame edgeSplayed revealOpen skyThe sketch: what you see from where you sit
The sightline sketch starts at your eye, not at the roof.

The upstand is also where heat can escape if the insulation stops short. The kerb has to be insulated to meet the roof insulation, with no cold strip of timber between them, otherwise the lining will be the coldest surface in the room and the first to show condensation or mould in winter. On an existing roof we check what is there as the deck is opened, and our answer on whether a roof lantern can go on an existing flat roof covers how the old covering is tied into the new upstand.

Glass chosen for the way the extension faces

A lantern has glass facing every direction at once, so the choice of glass depends on which way the extension faces, how exposed it is and what you want the sky to look like through it.

The baseline is a sealed double-glazed unit with a low-emissivity coating, an argon-filled cavity and a warm-edge spacer, with a toughened outer pane and a laminated inner pane. The laminated inner pane is the one that matters for safety: if it is ever broken, the interlayer holds the glass together rather than dropping shards onto the table. Guidance for overhead and sloping glazing points to laminated glass for exactly that reason. Triple glazing is available on many systems and cuts heat loss further, at the cost of weight and sometimes a deeper bar.

From there, orientation drives the rest. A lantern on a south-facing extension takes direct sun through its south slope for much of the day, and on a clear June afternoon an unshaded kitchen under clear glass can overheat quickly. East and west slopes catch low morning and evening sun, which is gentler for heat but more likely to cause glare. A north-facing lantern mostly sees soft, even sky light and very little direct sun. Out on the Fens, with flat horizons and wide skies, that openness works both ways: more daylight from all round, and nothing on the skyline to take the edge off a low sun.

FacesWhat you getGlass to considerWatch for
SouthStrong sun, heatSolar control, neutral tintGlare on worktops
EastBright morningsLow-E, light solar controlLow sun at breakfast
WestWarm eveningsSolar controlHeat late in the day
NorthSoft, even lightClear low-E, high lightTints that dull the sky

Solar control glass carries a coating that turns back a share of the sun's heat while letting through most of the visible light. The trade-off is in the look of it. Some coatings give the glass a blue, grey or bronze cast, and that cast colours the sky you see: a blue tint makes a grey day look bluer, a grey tint makes a bright day look duller. For a brand built on the view, we lean towards neutral coatings that keep the sky its own colour. Our guide to solar control glass for roof lanterns compares the options, and our energy efficient rooflights page covers the wider question of heat in and heat out.

On a north-facing extension, the same coating can take away light you need, so plain low-E glass with high light transmittance is usually the better call. A lantern on a north-facing room is far from wasted; it lifts the whole ceiling with steady sky light and never throws harsh sun on the table, as our answer on north-facing extensions explains.

The outer pane can also carry a self-cleaning coating. It works in two stages: daylight breaks down organic dirt on the surface, and rain sheets across the glass instead of beading, carrying the loosened grime away. It needs rain and a reasonable pitch to work, and a lantern's slopes are pitched enough. It keeps the glass clearer between cleans rather than removing the need for them, which our answer on whether self-cleaning glass is worth it on a roof lantern weighs up.

Condensation, fresh air and a lantern that opens

Condensation on a lantern is warm, moist air meeting a cold surface. Kitchens make a lot of moisture, so the cure is warmer glass edges and frames, plus a way for damp air to leave the room.

Cooking, a kettle, a dishwasher opening mid-cycle, damp coats drying on chairs: a busy kitchen extension puts a surprising amount of water into the air. Warm air rises, collects in the lantern, and finds the coldest surface it can. On older lanterns that is the edge of each glass unit, where a metal spacer bar conducts cold straight through, and the frame itself if it has no thermal break. That is where you see the wet line along the bottom of each pane on a winter morning, and where drips form on the bars.

Three things push the dew point away from the glass. A warm-edge spacer keeps the glass edge several degrees warmer than an aluminium one. A thermally broken aluminium frame puts an insulating barrier between the outside and inside faces of each bar. A low-E coating keeps the inner pane closer to room temperature. Together they make the inside surfaces warm enough that ordinary kitchen humidity does not reach them. The physics is laid out in our answer on why condensation forms inside a roof lantern.

The other half is getting damp air out. An extension that adds a kitchen must meet the ventilation requirements of Approved Document F, which normally means an extractor over the hob and background ventilation, such as trickle vents in the doors or windows. A lantern can add to that with an opening vent. The usual form is an electric vent in one pane or in the ridge, with a rain sensor that closes it when the first drops land. Because the vent sits at the highest point of the room, it lets out the warmest, dampest air first, and on a hot day it draws cooler air in through the doors below. Our answer on whether a roof lantern can have a vent that opens covers manual and electric types, and our electric and opening rooflight installation page covers motors and controls across all our rooflights.

An opening pane adds a frame within the frame, so it slightly thickens the lines on that slope. We place it on the slope you look at least, often the one nearest the house wall, so the vent does its job without sitting in the middle of the view from the table.

Blinds, shading and the lantern at night

Blinds in a lantern are made to each pane and run in tracks on the bars. They work well, but they have to be planned before the lantern is ordered, because they change the bar depth, the wiring and where the retracted blind sits in your view.

The usual type is a pleated or honeycomb blind, cut to the shape of each pane, including the triangles and trapezoids of the hip panes. Each runs in side tracks fixed to the bars and is either pulled with a pole or driven by a small motor. A honeycomb fabric adds a layer of trapped air that helps a little with heat in summer and warmth in winter. Blackout fabrics are available for a lantern over a snug or media room.

The detail that affects the view is where each blind stacks when it is open. A blind that retracts to the eaves leaves the upper half of the lantern clear, so from a seat you look past a thin band of folded fabric to open sky. One that stacks at the ridge puts that band right at the top of your view. We think about which way each blind retracts on the slopes you face, and whether the tracks will add visible depth to bars that were chosen for being slim. The options are compared in our answer on whether you can put blinds in a roof lantern.

Blinds are one way to handle sun; glass is the other. A south-facing lantern with good solar control glass may only need blinds for the hottest weeks, or for rooms used as bedrooms or offices. A north-facing lantern often needs none. Deciding glass and blinds together avoids paying twice for the same job.

After dark

On a winter evening, a lantern becomes a dark, glossy hole in a lit ceiling, reflecting the room back at you. Two things soften that. A low-level LED strip hidden in the lining throws a wash of light up the reveal, so the opening reads as a lit frame rather than a black void. A dimmable strip also gives the kitchen a calm evening light without the downlights. Where and how to run it, and how to keep the fitting hidden from the table, is covered in LED strip lighting around a roof lantern.

Planning permission and Building Regulations for a roof lantern

Planning and Building Regulations are separate. Planning asks whether you may build it; Building Regulations ask whether it is built safely and efficiently. A roof lantern usually needs the second and sometimes the first.

On planning, a lantern on a single-storey rear extension usually follows the extension. If the extension is permitted development, a lantern on its roof is normally fine too, provided the overall height stays inside the limits for that kind of extension. The lantern counts towards that height, so an extension designed close to the maximum leaves little room for a tall ridge. Some homes have no permitted development rights, or restricted ones: flats and maisonettes, listed buildings, properties in conservation areas, and homes covered by an Article 4 direction or a condition on an earlier planning approval. Around Stamford and the stone villages to the west, where Collyweston slate and limestone set the character of whole streets, those restrictions are more likely to apply. We check the position for the address before anything is ordered. The general picture is set out in our answer to whether roof lanterns need planning permission, and Peterborough City Council's planning pages cover the local detail.

Building Regulations are where most lantern work lands. Cutting a new opening into an existing roof alters the structure, so the trimming, the lantern's weight and the snow load all fall under Part A. The lantern must meet the thermal standard in Approved Document L, which for new and replacement rooflights in existing homes sets a limiting U-value of 2.2 W/m²K for the whole unit, frame included. Part F covers ventilation, as above. Part B can matter where a lantern sits close to a boundary. Safe glazing and protection against falling through overhead glass come into it as well. On a new extension, the lantern is part of the extension's Building Regulations application. On an existing roof, the work is notifiable in its own right.

We install to current Building Regulations and handle the Building Control notification wherever the work is notifiable, so you have a completion certificate at the end rather than a gap in the paperwork when you come to sell. The detail, regulation by regulation, is in our guide to roof lantern Building Regulations.

How a lantern goes in, from survey to the finished ceiling

Fitting a lantern is a short, busy job at the end of a longer run of planning. The roof is open for as little time as possible, and the room is protected throughout.

It starts with a home visit. We measure the room and the roof, check the joist direction and the fall, look at the covering, and talk through where you sit and what you want to see. That becomes the sightline sketch and the drawing of the lantern, which you approve before anything is ordered. Lanterns are made to measure, so there is a lead time from the maker, usually a few weeks, which is also when the Building Control notification goes in.

On an existing roof, the work then runs in this order:

  1. Protect the room below: floor coverings, dust sheets, furniture moved or wrapped, and a clear route in and out.
  2. Open the roof deck to the marked size, and cut and trim the joists to the design, adding any beam the engineer has specified.
  3. Build or set the upstand, level on top however the roof falls, and insulate it to meet the roof insulation.
  4. Dress the roof covering up the upstand and seal it, so the roof is weathertight before the lantern arrives on it.
  5. Set the lantern frame on the upstand, fix it, then glaze it pane by pane and fit the external caps and flashings.
  6. Line the inside with insulated board, set any splay, and prepare it for plaster, lighting and blinds.

The opening, trimming and upstand usually take the first day. The lantern goes on and is glazed on the second. Lining, plaster and making good follow over the next day or so, and plaster needs time to dry before decoration. On a new extension, the builder leaves a kerb ready and the lantern itself can be up and glazed in a single day. If the weather turns while the roof is open, the opening is covered and sheeted each night. How the days break down is covered in our answer on how long it takes to fit a roof lantern.

At the end you get the lantern, the lined and finished opening, the Building Control paperwork where the work was notifiable, and our 10-year workmanship guarantee, which is explained on our guarantee page.

Replacing an old lantern or a conservatory roof

Old lanterns tend to fail in ways you see first: misted panes, yellowed polycarbonate, bulky bars and cold draughts. Replacing one is a chance to fix the view as well as the performance, sometimes on the same kerb and sometimes with a bigger opening.

A polycarbonate lantern was a common choice on extensions and conservatories for years because it was light and cheap. With age the sheets go cloudy and brittle, dirt lodges in the flutes, and the view up becomes a milky blur. Glass lanterns of the same age often have misted units where the edge seals have failed, and PVCu frames with wide bars. When condensation sits between the panes, or the frame has warped, it is time to replace rather than live with it, as our answer on when a roof lantern should be replaced explains. The step from polycarbonate to glass is covered in replacing an old polycarbonate roof lantern.

The first question on a replacement is whether the existing kerb is worth keeping. If it is sound, level, dry, insulated and the right size, a new lantern can go straight onto it, which keeps the job short and leaves the ceiling untouched. If the timber is damp or rotten, the kerb is uninsulated, or the covering around it has failed, it comes off and a new upstand goes on. That is also the moment to reconsider size. A bigger lantern means a bigger hole, new trimming and possibly a beam, but it is often the single biggest change to how the room feels. Our answer on whether a roof lantern can be replaced with a bigger one walks through what changes. Where only the glass has failed in a sound frame, our misted and failed rooflight replacement service may be the better route.

From conservatory to a room with a lantern

A conservatory with a polycarbonate or thin glass roof can be too hot to sit in on a summer afternoon and too cold to use in January. One answer is to replace the whole roof with a solid, insulated one and set a lantern into it, turning the conservatory into something closer to an orangery: a flat perimeter roof with a lantern over the centre. That gives you a warm room with a proper ceiling and a clean frame of sky, rather than glass on every side.

It does change the regulations. A conservatory with a translucent roof, separated from the house by external doors, is usually exempt from Building Regulations. Put a solid roof on it and it becomes an extension, so the new roof, the lantern, the insulation and the structure below all need to meet current standards. The walls and base have to be checked for the extra weight. We look at all of that on the survey, and our guide to setting a lantern into an orangery roof covers the build-up.

Lantern questions to settle before the roof is opened

These are the questions that shape the drawing and the order. Settle them early and the lantern that arrives is the one you pictured.

Will a lantern give me more light than a flat rooflight?

For the same opening in the ceiling, a lantern has more glass, because its slopes and ends rise above the roof. It also catches low sun from the side, which a flat rooflight misses. The flat rooflight gives a single uninterrupted pane with no bars, which some people prefer for the view. Our guide to a roof lantern or a flat rooflight for the view compares the two from below, and our flat roof rooflight installation page covers the flat option in full.

What does a lantern cost?

The price depends on the size, the frame and glass, the opening vents and blinds, whether the roof needs new structure, and whether you are replacing an old lantern or cutting a new hole. Our page on what affects the cost of a rooflight explains each of those, and your quote is itemised once we have seen the room and the roof.

Can I pick the lantern style after the survey?

Yes, and it is better that way. The room's shape, the ceiling height and the roof structure narrow the choice between a pyramid, a double hipped lantern and a contemporary low-profile one. We draw the options that suit your room and show how each one looks from your seat, so the style is chosen on the view rather than a catalogue picture.

How do I keep the glass clear once it is in?

A self-cleaning outer coating helps, and so does placing the lantern away from overhanging trees. Beyond that, the glass wants a gentle clean from a safe position a couple of times a year, never by standing or kneeling on the glass. The lining and inner panes take a soft cloth and a mild cleaner. A lantern that is placed well and glazed well stays clear, and that is the whole point of fitting one.

Where do I start?

Book a home visit or message us on WhatsApp. We cover Peterborough and 30 miles around, from the city's own streets to the villages and market towns beyond. You get a drawing of the lantern, a sightline sketch from the seat that matters and a clear quote. You can also read about every other rooflight and skylight we install in Peterborough before we visit, and when you are ready, book your home visit.

Book a home visit

Tell us which room

  • No obligation
  • Sightline sketch included
  • 10-year guarantee

Or call 01733 736163

Call Book a home visit