Guide · Roof lanterns
Replacing an Old Polycarbonate Roof Lantern
A polycarbonate lantern fades, mists and rattles in the rain over time. Replacing it starts with the kerb and the ceiling below, so the new glass sits on sound ground and gives back a clear view of the sky.

A polycarbonate lantern was, for years, the standard way to put a roof over a new extension: light, cheap to make and quick to fit. Twenty or so years on, most of them are past their best, and the sheets that once let the sky in have turned into something closer to a lit ceiling than a window. Swapping one for a glass lantern is less about fashion and more about getting the view back, and the survey for that swap starts at the kerb and the ceiling below it, not at the glass itself.
Why a polycarbonate lantern stops earning its place
Polycarbonate ages in ways that are easy to see from the room below, well before the roof itself gives any trouble.
The sheets are usually twin wall or triple wall: two or three skins of clear plastic with air trapped between them, ribbed into flutes along their length. That air gap makes them a fair insulator when new, but the same flutes trap dust, algae and condensation over time, and the plastic itself yellows under UV. What was a clear pane becomes a milky one, and the "view" up is a soft grey glow rather than sky. On a bright day it can look like a permanently overcast morning, whatever the weather is doing outside.
Sound is the other giveaway. Polycarbonate is thin and light compared with glass, so it drums under rain and booms under hail in a way a double-glazed unit never does. Wind sets the sheets moving in their glazing bars, and as the plastic expands and contracts through the day it can tick and creak against the frame. None of that means anything is failing structurally; it simply means the room announces every change in the weather, which gets old fast in a kitchen or living space used every day.
The frames tend to show their age too. Early polycarbonate lanterns often carried a plain white PVCu frame with fairly bulky bars, sized more for holding thin sheets flat than for a slim look from below. On a Fletton brick extension from that era, or a conservatory added to a new-town semi in Bretton or Orton, the whole roof can feel heavier and darker than the glazing area alone would suggest, simply because of how much frame is doing the work.
None of this calls for a quick opinion from a ladder. Before anything is measured for a new lantern, the existing kerb and the ceiling below get a proper look, because both decide what a replacement can and cannot do.
Start the survey at the kerb, not the glass
The kerb is the timber or insulated upstand the whole lantern sits on, and its condition decides whether a straightforward swap is possible or whether the job starts with the roof itself.
On an older extension, that kerb is commonly a timber frame, built up on site and dressed with the roof's felt or single-ply covering turned up its sides. Twenty years of weather, and sometimes a covering that was never quite right where it met the polycarbonate frame, can leave that timber damp, soft at the corners or simply too low to meet current guidance for how far a covering should turn up above the roof surface. A kerb that is sound, level, dry and the right height can often carry a new lantern with little more than a new capping and seal. One that has taken in water needs opening up, drying out or rebuilding before a new frame goes anywhere near it, whatever the new lantern turns out to be.
Height matters as much as condition. Guidance for flat roofs looks for the waterproof covering to turn up a minimum distance above the finished roof surface at any upstand, so standing water and wind-driven rain cannot get behind it. Many older polycarbonate kerbs were built shallow, because the lightweight roof they carried needed less to hold it down. A heavier glass lantern does not need a taller kerb on its own account, but if the existing upstand is already short of what current guidance expects, replacement is the moment to put that right rather than build a new lantern onto an old shortfall. The options for rebuilding it, timber, a factory insulated upstand or a lantern with its own built-in kerb, are set out in our guide to roof lantern upstands.
We also check the fall of the roof around the kerb. Flat roofs are built to shed water towards a gutter or outlet, and a roof that has settled or ponds against the kerb on one side is worth knowing about before a new lantern is ordered, because it can change how the upstand is rebuilt on that side.
What the ceiling and the well tell us
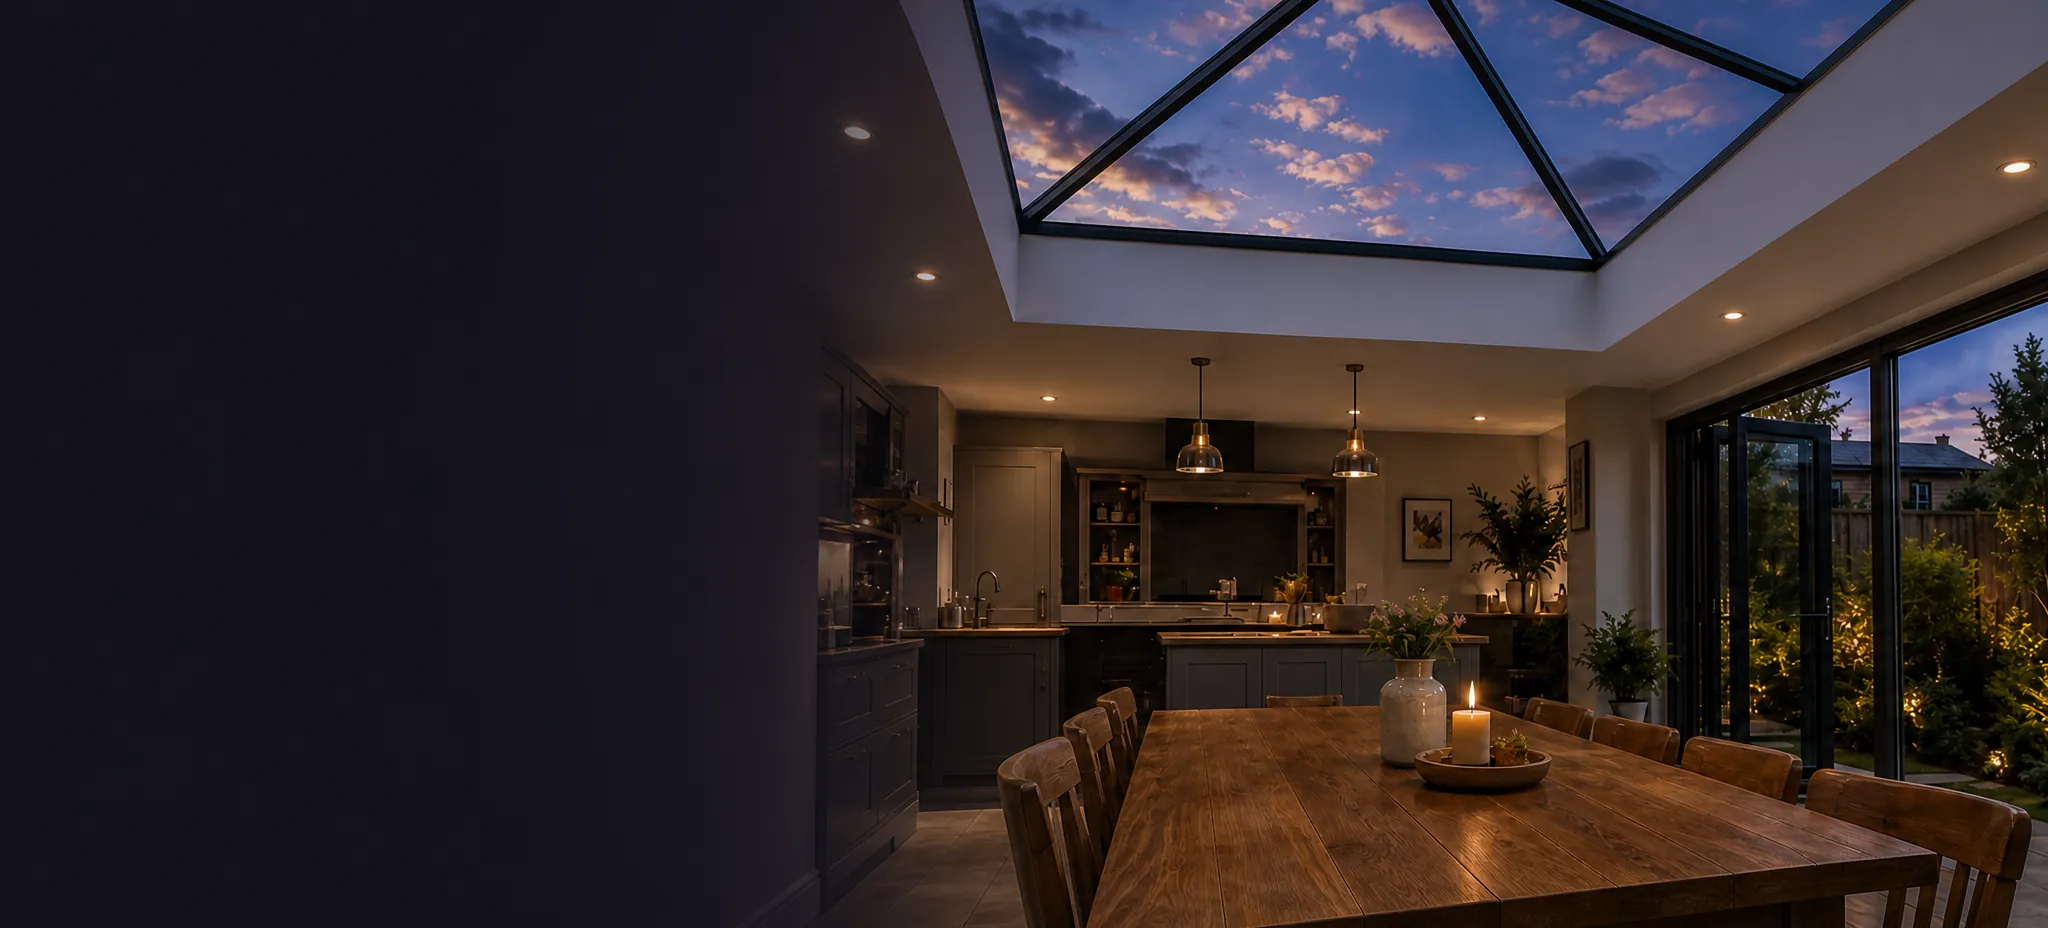
Below the kerb sits the well: the lined shaft that runs from the ceiling up to the underside of the frame, and it shapes the view as much as the glass above it does.
On many polycarbonate lanterns that well is plain plasterboard, painted white, sometimes stained at the corners where condensation has run down it for years. A stain along the bottom edge of the lining is a useful clue: it usually points to a cold frame or an uninsulated kerb rather than a leak, and it tends to disappear once a thermally broken glass lantern with a warm-edge spacer goes in. Where the staining runs deeper, into the plasterboard itself, that section of lining gets replaced rather than painted over.
The depth and shape of the well matter for what you actually see once the new glass is in. A square, deep well narrows the sky from an angle, because the near edge of the lining blocks the far slope of the lantern before your eye reaches the glass. A splayed well, opened outwards as it drops to the ceiling, gives the same sightline more room to clear the lining and reach open sky. Where the existing well is square and the room allows it, splaying the lining at the same time as the lantern is replaced is one of the simplest ways to open the view up without touching the size of the opening at all. Every replacement gets a fresh sightline sketch, drawn from the seat or spot in the room that matters, so you can see the difference on paper before the old lantern comes off.
It is also the point at which we check what else the ceiling is carrying. Downlights recessed into the lining, a pendant hung from the ridge, or an extractor duct routed past the kerb all have to come out and go back, and their positions are worth reviewing at the same time rather than simply refitting them where they were.
Polycarbonate to glass: what actually changes overhead
The single biggest change in a replacement is the glass build-up itself, and it changes how the room performs as much as how it looks.
A typical glass lantern uses a sealed double-glazed unit: a toughened outer pane, a low-emissivity coating, an argon-filled cavity with a warm-edge spacer, and a laminated inner pane. The laminated inner pane is there for safety overhead: if it is ever broken, the interlayer holds the glass together rather than dropping it onto the room below, which guidance for sloping and overhead glazing calls for. Triple glazing is available on many systems, at the cost of extra weight and sometimes a slightly deeper bar.
That glass is considerably heavier than the twin-wall or triple-wall sheet it replaces, and weight is exactly what the survey of the kerb and roof structure is checking for. On a new-town extension built with standard joists at typical centres, the existing structure often has enough in hand, particularly if the polycarbonate lantern was itself specified with some allowance for a future upgrade. On an older or lighter roof, the joists and any trimmers around the opening may need strengthening to carry a heavier unit and the added snow load a solid glass roof is designed for. Our answer on whether a flat roof can take the weight of a roof lantern explains how that check is done.
Thermal performance improves at the same time, sometimes markedly. Where a polycarbonate roof relied on trapped air between thin plastic skins, a modern glass unit combines the coating, the cavity gas and the warm-edge spacer to keep the inner pane much closer to room temperature. That is also why the condensation staining mentioned above tends to clear once the swap is done: warmer glass and a warmer frame mean the room's moisture has less of a cold surface to condense on. Our answer on why condensation forms inside a roof lantern goes through the physics in full, and our page on solar control glass for roof lanterns covers the coatings that keep a south-facing room comfortable without turning the sky an odd colour.
Frame and bars: trading bulk for a clean sightline
Replacing polycarbonate almost always means replacing the frame too, and that swap is where most of the visible change in the view comes from.
Older PVCu frames were built with a steel or aluminium core inside the plastic to give the bars enough strength, which pushed their width up. A modern aluminium lantern does that structural work in the metal itself, so the bars can run noticeably slimmer for the same span and the same wind loading. Standing under both, the difference reads plainly: a slim aluminium bar sits as a fine line against the sky, where an old bulky bar reads as a strip of ceiling with a gap either side of it. Our guide to aluminium roof lanterns and slim rafters sets the profiles side by side.
The number and spacing of bars is worth deciding again from scratch rather than copying the old layout. A polycarbonate lantern's sheet sizes do not answer to the same rules as toughened and laminated glass panes, so a straight swap can leave a bar sitting somewhere it was never meant to be, such as directly down the middle of the view from the table. Whether an even or odd number of panes lands a bar or a clear pane on that centre line is a decision the maker can usually accommodate, provided it is made before the new lantern is ordered. The reasoning is set out in roof lantern glazing bars and the view up.
Frame colour is also worth a second look at replacement, since a dark grey or graphite frame that reads as a crisp line against the sky can look quite different from the white frames common on older polycarbonate lanterns, and it changes how the lantern sits against a Fletton brick elevation from outside as well.

Keeping the kerb or starting again
Once the kerb, roof and ceiling have been checked, the practical question is whether the existing opening can be reused as it stands, or whether it needs to change.
Where the kerb is sound, level, the right height and roughly the right size, a new lantern can often go onto the same opening, which keeps the job shorter and leaves the roof covering around it largely untouched. Where the frame was set on a kerb that turns out to be undersized for current guidance, or where the household has always felt the old lantern was a touch too small for the room, replacement is the natural point to widen the opening, retrim the joists and step up in size. That is a bigger job, closer to a new installation than a swap, and our answer on whether a roof lantern can be replaced with a bigger one explains what changes.
Some polycarbonate roofs were never lanterns in the first place, but the flat or barely pitched roof of an older conservatory, extended with a kerb built up from a low upstand. Turning that into a proper lined ceiling with a glass lantern set into it is a larger step again, closer to converting the room than replacing a fitting, and it is covered in our guide to setting a lantern into an orangery roof.
Where the existing structure is an ordinary flat roof extension, our answer on whether a roof lantern can go on an existing flat roof covers how the opening and the joists around it are assessed either way.
Building Regulations on a replacement
Swapping a lantern is still notifiable work under the Building Regulations, even though the opening in the roof is not changing shape.
The new lantern has to meet the limiting U-value set out in Approved Document L for replacement rooflights in existing homes, whatever the old polycarbonate roof achieved when it was new. The glass has to meet current requirements for safety in overhead glazing, which is why laminated inner panes are standard rather than optional. Where the kerb is rebuilt or the opening changes size, Part A of the regulations covers the structure, and Part F covers ventilation if the room's extract arrangements change as part of the work. We install to current Building Regulations and handle the Building Control notification for the work, so the paperwork is in order rather than left as a gap for a future buyer's solicitor to raise.
Planning permission is a separate question, and one worth checking for the address rather than assuming from the last time the extension was built. A like-for-like lantern replacement rarely raises new planning questions, but a wider opening or a taller ridge can, particularly on homes without full permitted development rights, or in the conservation areas around Stamford and the Collyweston stone villages to the west, where the character of a roofline is looked at more closely. Our answer on whether roof lanterns need planning permission sets out the general position, and roof lantern Building Regulations covers the regulations in full.
What the job looks like when the old lantern comes off
A polycarbonate lantern comes off in a morning, but the days either side of that are where the job is actually won or lost.
It starts with the home visit that produces the sightline sketch and the survey findings on the kerb, the well and the roof structure, so the quote reflects the real condition of what is there rather than a guess from photographs. Once the new lantern is ordered, which carries its own lead time from the maker, the work on site typically runs in this order:
- Protect the room below with dust sheets and a clear route in and out, and move or cover anything under the opening.
- Strip the old polycarbonate sheets and frame back to the kerb, checking the timber or upstand as it is exposed.
- Renew or rebuild the kerb where needed, and re-dress the roof covering up its sides so the roof is weathertight again.
- Set and fix the new frame, then glaze it pane by pane with the caps and flashings finished outside.
- Renew or splay the internal lining, refit any lighting, and prepare the surface for plaster and decoration.
Where the kerb is sound and the size is not changing, the whole job can often be finished inside two or three days, with the roof itself only open for part of one of them. Where the kerb needs rebuilding, or the opening is being widened, the job runs longer and closer to a new installation. Our answer on how long it takes to fit a roof lantern breaks the stages down further, and every job finishes with our 10-year workmanship guarantee.
| Kerb condition | What happens | Rough scope |
|---|---|---|
| Sound, right height | New frame onto existing kerb | Shortest |
| Sound, too shallow | Kerb raised or recapped | Moderate |
| Damp or soft timber | Kerb rebuilt | Longer |
| Opening being widened | Joists retrimmed, new kerb | Closest to new build |
Points worth settling before the old lantern comes off
These are the questions that come up most often once a household has decided the old polycarbonate roof has to go.
Can the room stay in use while the lantern is replaced?
For most of the job, yes. The room is dust-sheeted and the opening is covered whenever work stops for the day, so a kitchen or living room stays usable, if a little disrupted, while the roof above it is open. The noisiest and most disruptive stage is the day the old sheets and frame come off and the new one is fitted.
Will taking the old lantern off show up problems that were hidden?
Sometimes. Stripping back to the kerb is the point at which damp timber, a poor original seal or an insulation gap that has been quietly costing heat for years becomes visible for the first time. That is a reason to have the roof properly checked rather than simply ordering a replacement lantern to the old opening's size and hoping the kerb beneath it is fine.
Does the new lantern have to be the same size as the old one?
No, though keeping the same footprint is usually the shorter job. If the room has always felt like it wanted more sky, or the old lantern was undersized for the space, replacement is a sensible moment to reconsider the width and shape rather than default to matching what was there.
What happens to the frame colour and style if I am not changing the size?
Both are open choices even on a like-for-like replacement, since the new frame does not have to match the old one in colour or profile. A pyramid, a double hipped lantern or a contemporary low-ridge design can all sit on a kerb built for an older shape, provided the survey confirms the fit; our guide to pyramid, double hipped and contemporary lanterns compares them.
To find out what your own roof needs, book a home visit or message us on WhatsApp. We cover Peterborough and 30 miles around, and every visit includes a full survey of the kerb, the well and the roof, plus a sightline sketch showing the view you will get once the old polycarbonate is gone. You can also see the full roof lantern installation service, and what typically affects the cost is set out on our costs page.
Keep reading
 GuideSetting a Lantern Into an Orangery RoofHow a lantern sits within an orangery perimeter roof, and what the deep internal pelmet means for the view up.
 GuideSolar Control Glass for Roof LanternsChoosing solar control glass that keeps a lantern cool without dulling the sky above it.
 GuideRoof Lantern Building RegulationsWhat Building Control checks on a new roof lantern, from structure and insulation to safety glass and notification.
Book a home visit
Tell us which room
- No obligation
- Sightline sketch included
- 10-year guarantee
Or call 01733 736163