Guide · Conservation rooflights
Fitting a Conservation Rooflight Flush
A flush conservation rooflight leaves almost no margin for error, so the sequence runs from an exact survey to a kerb built to match, not the other way round.

A frame with almost nowhere to hide a mistake
Setting a conservation rooflight flush is a different job on site to fitting a standard flat rooflight, and the difference is not really about skill with a saw. It is about tolerance. A standard rooflight sits on a deep box kerb with room built into the upstand to absorb a small error in the opening; a conservation unit sits on a kerb only a few centimetres proud of the roof plane, so there is very little depth left to correct anything once the covering has been cut back.
That single fact shapes the whole sequence, from the first visit with a tape measure to the last slate going back into its course. Get the opening a little too big or a little too deep and a standard rooflight simply takes a wider seal or an extra packer; a conservation unit built to a shallow kerb has no such margin, so the roof has to be measured accurately before anything is cut, and the unit has to arrive built to that exact opening rather than a near enough one. Our conservation rooflight installation work across Peterborough and the towns around it, from Fletton brick terraces to Collyweston stone cottages near Stamford, runs on that principle whether the roof is listed or carries no designation at all.
The sequence, and why the order cannot be shuffled
Four stages carry a conservation rooflight from a tape measure to a finished, weathered opening, and each one depends on the stage before it being done properly rather than rushed to keep a programme moving.
- Survey the actual roof, not a photograph or a satellite image, measuring pitch, rafter spacing, covering gauge and the depth of the existing roof build-up.
- Specify and order the unit to that exact opening, with the kerb height set against the real roof rather than a standard module off a shelf.
- Open the roof and fit the frame, lifting only the covering the job needs and setting the kerb level, square and at the height the survey called for.
- Dress the covering back in and notify Building Control, so the roof is weathered and the paperwork closed off together rather than one trailing the other.
Skip ahead on any one of the four and the shallow kerb is what suffers first: an opening cut before the survey is finished, or a unit ordered before the covering gauge is confirmed, tends to arrive a little wrong for the roof it is going into, and there is nowhere in a flush build to absorb that.
What the survey has to capture before an order goes in
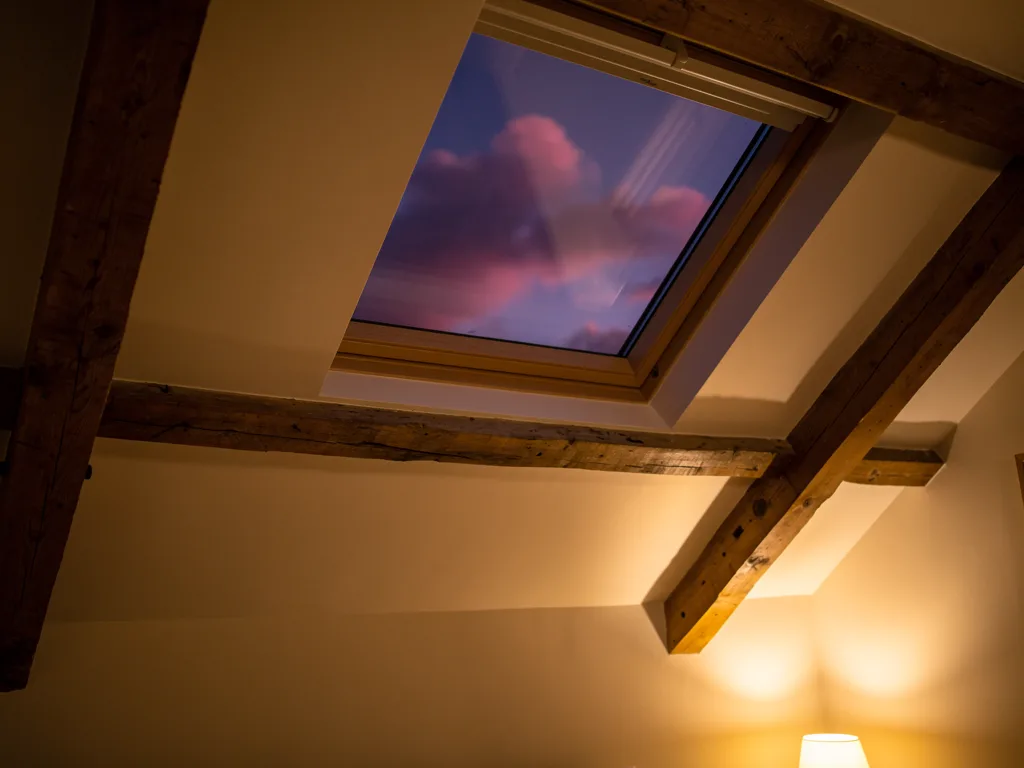
A conservation rooflight is made to measure in the plainest sense: the frame, the kerb and the glazed unit are all sized to one specific opening, so what the survey records is what gets built. The pitch of the roof decides how the kerb sheds water at such a shallow profile; the rafter centres either side decide whether the opening needs a trimmer built in or simply falls between existing timbers; the covering gauge, the width of each course of slate, tile or stone, decides where the opening can sit without cutting awkwardly across a run; and the thickness of the existing roof build-up, particularly where a loft has already been insulated, decides how much depth the kerb has to sit within before it stops reading as flush at all.
None of that is guesswork done from the ground. A surveyor gets onto the roof or into the loft to take each measurement against the real timber and the real covering, because a conservation kerb built even a centimetre out against the actual pitch shows up immediately as a line that does not sit true against the slates around it. Where the roof carries a listed building or a conservation area designation, the same visit usually confirms what a drawing will need to show a conservation officer, which our guide to preparing a listed building consent application for a rooflight takes further.
Specifying the kerb to the opening, not the opening to a catalogue
Once the roof has been measured, the rooflight itself is drawn and ordered against those figures rather than chosen from a fixed range of standard sizes. The kerb height is set to sit just proud of the surrounding slates or stones once the falls are accounted for; the frame face, whether steel or aluminium, is worked to the narrow section the profile depends on; and the glazed unit is built to a slimmer overall depth so it fits within that shallow kerb rather than sitting proud of it.
This is where a flush fit and a standard fit part company for good. A standard rooflight can be picked off a shelf close enough to size and packed to fit on the day; a conservation unit that turns out to be a little too tall or too shallow for the opening has to go back to be remade, because there is no packer thick enough to hide the difference without the kerb starting to look proud of the roof again. Building that lead time in before the roof is opened at all matters more here than on almost any other rooflight type we fit.
Lifting the covering without opening more roof than the job needs
Once the unit is on order, work on the roof itself starts with taking the covering off around the marked opening, and taking off only as much as the job actually needs. Slates, plain tiles or Collyweston stones are lifted whole wherever they can be, numbered or stacked in the order they came off, and set aside somewhere dry rather than left loose on the scaffold boards. Any that break in the lifting, or that were already cracked, are put aside separately so they are not reinstated by accident.
The felt or membrane beneath the covering is cut back cleanly to the opening rather than torn further than the job requires, and the rafters either side are checked against what the survey recorded before anything is trimmed. Where the opening needs a trimmer built in to carry the load either side, that carpentry happens now, before the kerb goes anywhere near the roof, because a kerb fixed against timber that later needs adjusting is a kerb that has to come out again.

Setting the kerb level, square and at the right height
The kerb goes in next, and this is the stage where the shallow profile either earns its name or does not. It is packed and fixed to sit level along its length and square to the opening, checked against a string line or a straight edge rather than by eye, because a kerb even slightly out of square telegraphs straight through to the frame that sits on it and, from there, to the sightline of the room below. Firrings under the kerb take up any small difference in the roof build-up without adding height the flush profile cannot spare, which is a large part of why the survey figures matter so much before this point is reached.
The frame is offered up and fixed once the kerb is confirmed true, checked again for level and for square before the fixings are finally tightened, because a frame fixed slightly askew on an already-true kerb is still a frame that sits wrong against the slates around it. Where the specification carries a central bar as a period detail, it is set in the frame before the glazed unit goes anywhere near the opening, since the bar has to be true to the frame rather than adjusted afterward. The glazed unit itself, covered in more depth in our guide to glazing in a conservation rooflight, is lifted in and sealed only once the frame below it is confirmed sound.
Dressing lead by hand into the coursing around it
A conservation kerb has no standard dry-fit tray to sit the flashing on, unlike most modern interlocking-tile rooflights, so the lead is cut and dressed by hand on site to follow the actual covering rather than run in a single straight line. That takes longer than fitting a factory tray, and it is a large part of why a conservation rooflight costs more to fit than a standard one of a similar size, a point our guide on why conservation rooflights cost more sets out in full.
How the lead is stepped depends on what covers the roof, and the three coverings common around Peterborough each ask for a slightly different hand.
| Covering | Coursing | Lead detail |
|---|---|---|
| Collyweston stone slate | Small, graded, irregular | Stepped tight to each stone, cut to the actual gauge on site |
| Plain clay tile | Fine, regular gauge | Dressed close so the tray does not read as a box on the roof |
| Natural slate | Regular, well established | Stepped in standard courses, matched to slate thickness at the edge |
Our guide to Collyweston stone slate and rooflights goes further into the stone case specifically, while conservation rooflights on slate and clay tile roofs covers the other two. What stays constant across all three is that the lead has to be worked into the existing pattern rather than the pattern being cut back to suit a standard flashing kit.
Putting the covering back around the new opening
With the kerb, frame and flashing in place, the slates, tiles or stones that were lifted at the start go back around the opening in their original order, cut and packed against the new upstand rather than butted against it in a straight, obviously modern line. Reclaimed pieces are used wherever they survived the lifting; where a stone or slate broke, or where the opening is genuinely new rather than a like-for-like swap, a matching piece is sourced and cut to the same gauge as its neighbours so the run of coursing reads as continuous from the ground.
This is the stage where a rushed job shows up years later rather than on the day itself. A course pushed slightly out of line to save cutting a stone to size sits wrong against every course above and below it for as long as the roof stands, in a way a quick look from a ladder does not always catch straight after the work finishes.
Weather, timing and keeping the roof closed while the work runs
A conservation rooflight opening stays open for longer than a standard swap, because a bespoke kerb and hand-dressed lead simply take more hours than lifting a standard unit onto a factory tray. That changes how the days on the roof are planned more than it changes anything about the finished job.
None of that changes what the roof looks like once it is finished. It changes how the programme is set before the first slate comes off, and why a conservation job is booked against a wider weather window than a standard rooflight swap would need.
Notifying Building Control and closing the job off
Fitting a rooflight, whether it is a straight swap or a genuinely new opening, is normally notifiable work under the Building Regulations, and that notification runs alongside the physical work rather than trailing behind it as an afterthought. We handle the notification as part of the job, and the finished installation is carried out to current Building Regulations regardless of whether the roof sits on a listed cottage or a plain slate terrace with no designation at all.
Where the rooflight being fitted is a genuine replacement for an old or failed unit rather than a new opening, the sequence above still holds, though the starting point is different: the old frame and kerb come out first, and the opening they leave is checked and, where needed, reworked to suit the new unit's kerb height before anything goes back in. Our guide to when the original cast iron rooflight has had its day goes through that case specifically, including what changes when the unit coming out is the building's own original.
Every quote for this work comes with a sightline sketch, a drawing of the actual view from the room below once the frame, any bar and the reveal are accounted for, so what the finished opening will look like from the bed, the sofa or the stairs is known before the roof is touched rather than discovered afterward. Our costs guide sets out general market ranges across all ten of our services, as a guide rather than a fixed price for any one roof.
What tends to come up once the roof is actually open
Can the kerb be adjusted on site once the unit has arrived?
Only within a small margin. A little packing under the kerb can take up a small difference in the roof build-up, but there is no room in a shallow, flush profile to correct an opening that turns out to be significantly bigger or smaller than the unit ordered for it. That is the whole reason the survey happens before anything is manufactured rather than after.
Does a flush fit always need scaffolding?
It depends on the roof rather than on the rooflight type. A ground-floor extension or a single-storey rear roof can sometimes be worked from a tower or a ladder with the right edge protection, while a job higher up a two-storey roof, or one close to a public pavement, usually calls for a scaffold so the covering can be lifted and reinstated safely and without rushing the hand-dressed lead work.
What happens if the opening turns out a different size once the covering is lifted?
It is checked against the survey figures before the kerb goes anywhere near the roof, and any discrepancy is resolved on the spot, whether that means trimming a rafter that has moved slightly out of true or, in rarer cases, pausing to have the unit reworked before it is fixed. Discovering it at this stage, before the kerb is fixed, is far preferable to discovering it once the frame is sealed in.
Can extra insulation be added while the roof is open?
Often yes, and it is worth raising before the covering goes back rather than after. With the roof already open around the new kerb, topping up insulation in that immediate area, or improving how the existing build-up meets the new upstand, is far simpler than coming back to do it once the covering has been reinstated and the scaffold has gone.
Keep reading
 GuideWhen the Original Cast Iron Rooflight Has Had Its DayHow to tell when an original cast iron rooflight is beyond saving, and what a modern conservation unit changes.
 GuideConservation Rooflights That Open, by Hand or MotorHow a conservation rooflight opens for ventilation, by hand or by a hidden electric motor, without disturbing its slim, flush profile.
 GuideConservation Rooflights in Barn ConversionsHow a conservation rooflight is fitted around a barn's trusses, long roof slopes and stone or pantile coverings.
Book a home visit
Tell us which room
- No obligation
- Sightline sketch included
- 10-year guarantee
Or call 01733 736163