Guide · Flat roof rooflights
Internal Reveal Finishes Under a Flat Rooflight
The glass gets the attention, but the reveal, the lined shaft below it, decides how much sky the room actually sees.

The glass gets all the attention when a flat rooflight is specified, but the piece that decides what a room actually feels like sits below it: the reveal, the lined shaft that carries the opening down from the roof to the ceiling. Get the reveal wrong and a good rooflight still reads as a dim slot in the ceiling. Get it right and the same glass reads as open sky.
The reveal is the part you live under, not the part on the roof
Everything above the ceiling line, the kerb, the upstand, the glazing unit itself, is chosen once and then largely forgotten. The reveal is different. It is the surface your eye meets every time you look up from the sofa, the pillow or the worktop, and it is finished in the same plaster and paint as the rest of the room, so any shadow, stain or crooked line in it shows.
A flat rooflight sits proud of the roof deck on a kerb or upstand, usually somewhere between 100mm and upwards of 300mm depending on the roof build-up. Below that, through the ceiling void, the light has to travel down a shaft before it reaches the room. That shaft is the reveal. Its shape, depth and finish decide how much of the sky you actually see, and how the light spreads once it arrives.
A square reveal draws a hard line around the sky
The simplest reveal is square: four sides run straight up from the ceiling at ninety degrees to meet the underside of the kerb. It is quick to build and easy to plaster, because every corner is a standard right angle that a plasterer can finish with an ordinary angle bead.
The trade-off shows up the moment the shaft has any depth to it. A square reveal on a deep shaft behaves like a tube: it frames a fixed rectangle of sky and lets nothing else in. Stand under it and move a step to either side and the sky disappears behind the lining before the glass edge is anywhere near your eyeline. On a shallow shaft this barely matters. On a loft conversion with joists, insulation and a raised kerb stacked up, a square reveal can turn a generous pane of glass into something closer to a letterbox by the time the light reaches the room.
A splayed reveal is what opens the frame back out
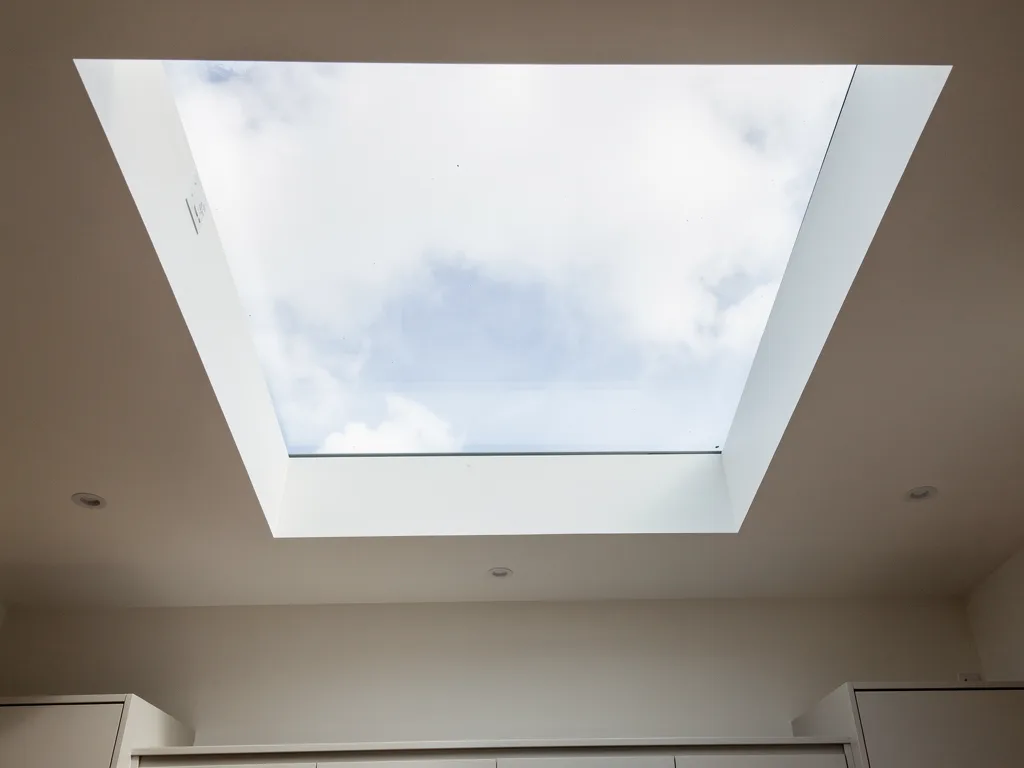
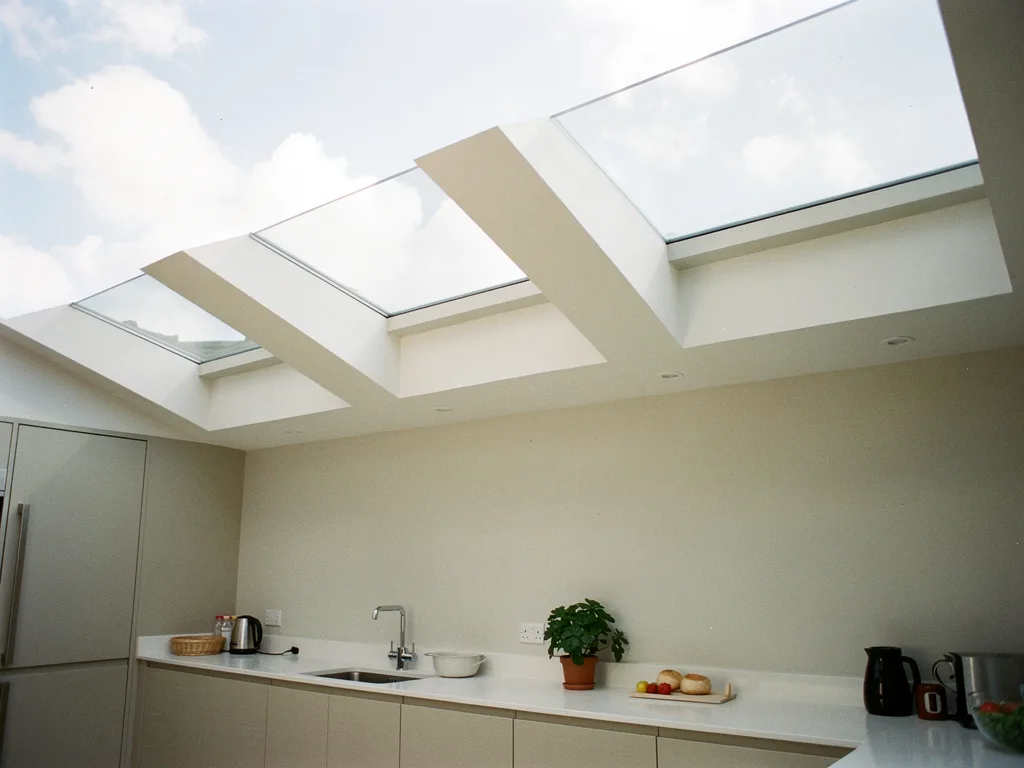
A splayed reveal angles the four sides outward as they rise, so the opening is narrower at the roof and wider at the ceiling. Instead of a straight-sided tube, the shaft flares like the mouth of a horn.
The effect on the view is the whole reason to build it this way. A splay lets the eye read past the glass edge into the plastered slope of the reveal itself, so the transition from ceiling to sky is gradual rather than abrupt. It also catches daylight on its angled faces, so the reveal itself glows rather than sitting as a dark collar around the glass. From below, the sky reads as bigger than the physical size of the glazing unit would suggest, because the splayed sides are doing some of the work the glass alone cannot.
A splay of somewhere around thirty to forty five degrees is common practice, though the right angle depends on the depth of the shaft and the width of the opening below. A deep shaft with only a gentle splay still reads as a tube; a shallow shaft with a steep splay can look odd from some seating positions. This is exactly the kind of decision a sightline sketch settles before the ceiling is cut open, by drawing the view from where you will actually sit or lie rather than guessing at it afterwards.
| Feature | Square reveal | Splayed reveal | Effect on view |
|---|---|---|---|
| Corner detail | Standard right-angle bead | Mitred or scribed angle | Splay needs a more careful plasterer |
| Light spread | Sharp cut-off at the edge | Gradual, glowing sides | Splay softens the transition to sky |
| Depth tolerance | Reads as a tube if deep | Opens a deep shaft back out | Splay suits deeper shafts |
| Build cost | Simpler stud and board work | More cutting and setting out | Splay costs more labour |
Shaft depth is set long before the plasterer arrives
How deep the reveal runs is fixed by the roof build-up above it and the ceiling below, and both of those are usually decided during the structural and insulation planning, not on the day the lining goes up. In a Peterborough loft conversion over an older terrace, deep ceiling joists and the insulation needed to meet current Building Regulations can add real depth to the shaft before the kerb even starts. In a newer extension on one of the city's later township developments, a shallower roof build-up often means a shorter, easier reveal.
Either way, the depth needs to be known before the lining is designed, because it is depth that decides whether a square reveal will do the job or whether a splay earns its extra labour. Deciding this after the plasterboard is up means living with whichever shape got built, so it belongs in the same conversation as the glass and the kerb, not left until the ceiling is patched.
What the lining is actually made from
Plasterboard on a timber stud frame is the standard build for a reveal, whether square or splayed. The studs are set out to the angle required, boarded, taped at the joints and finished with a skim coat, exactly as the rest of the ceiling would be. Where a shaft passes through an unheated void, the boarding is usually backed with insulation to stop the reveal itself acting as a cold bridge, which otherwise shows up later as a damp stain running down the plaster near the top edge.
Some jobs use a lining board or an MDF frame instead of plasterboard, particularly where the reveal is short and square and a carpenter is finishing it as part of a wider joinery package, such as a painted timber surround in an older property. It is a matter of what the rest of the room's trim is doing rather than a rule about the rooflight itself; a plastered shaft and a lined timber one can both frame the sky equally well if the corners are true.
- Timber stud frame, set out square or to the chosen splay angle
- Plasterboard fixed to the frame, with insulation behind it where the void is cold
- Taped joints and a full skim coat, carried into the corners
- A painted finish, applied after the rest of the room's decoration is done
Corners are where a splayed reveal is won or lost
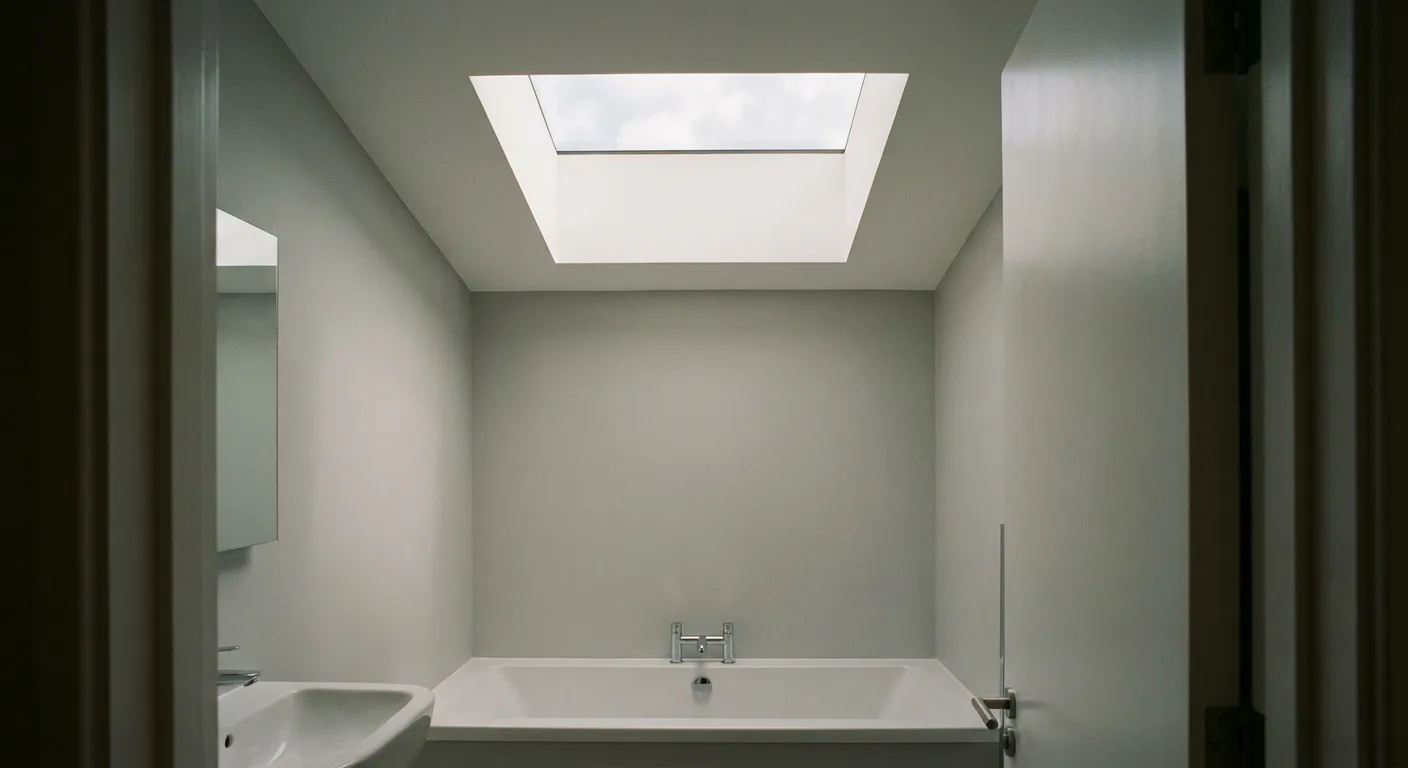
A square reveal's corners are ordinary ninety-degree internal angles, and any competent plasterer finishes them with a standard angle bead without a second thought. A splayed reveal has no right angles at all: each corner is a compound angle where two sloped faces meet, and getting a crisp, straight line down that junction takes real setting out before a single sheet of board goes up.
Done well, the eye never registers the corner as a corner; it reads as a single smooth fold in the plaster, drawing the sky wider rather than interrupting it. Done poorly, a wavering line down each corner is the first thing anyone notices lying in bed looking up, because it sits exactly where the eye travels from the room into the opening. It is worth asking, before work starts, whether the reveal will be square or splayed, and treating the answer as part of the room's finish rather than an afterthought for whoever is plastering that week.
Colour and sheen decide how much work the reveal does for free
A flat, matt white is the finish that does the most for a reveal, splayed or square. Matt paint scatters the light that reaches it evenly across the surface, so the whole shaft glows rather than throwing a hard reflection back at the room. A silk or gloss finish, by contrast, can catch a bright patch of sky and bounce it as a hot spot on one face of the reveal, which draws the eye to the paint rather than past it.
A pale colour close to the ceiling's own white keeps the transition from room to sky continuous. A stronger colour on the reveal, even a pale grey or a warm off-white, tends to announce itself as a frame rather than disappearing, working against the whole point of building the shaft carefully in the first place.
Where the reveal meets the frame decides whether the kerb shows
At the top of the shaft, the lining has to meet the underside of the rooflight's inner kerb or frame cleanly. Finished well, the plaster line sits flush with the frame so the eye reads one continuous opening from ceiling to glass. Finished badly, a strip of unlined kerb or a visible gap between board and frame sits above the plaster, breaking the view exactly at the point where it should be cleanest. Whether the kerb shows at all from a given seat in the room, and how to line it out so it does not, is worth reading in full on will I see the kerb of a flat rooflight from inside.
A frameless unit, where the glass edge is hidden behind the last few millimetres of the reveal itself rather than sitting inside a visible frame, asks even more of this junction, because there is no metal edge left to disguise a rough line. Where the cleanest possible sightline is the goal, it is worth reading how a frameless flat rooflight changes what the reveal has to do at that top edge.
Sequencing the trades so the reveal is not an afterthought
The roofer forms the kerb or upstand and weathers the roof covering into it first, since nothing inside the room can be finished until the opening is watertight. Only then does the reveal get built: a carpenter or plasterer sets out the studwork to the agreed shape, squares up or splays each side, and boards it. Taping, skimming and painting follow in the usual order, timed with the rest of the room's decoration rather than treated as a separate job.
Getting this sequence right matters because the reveal's shape has to be agreed before the studwork goes up, not adjusted afterwards. A square reveal that was meant to be splayed cannot be turned into one without stripping the boarding back out. Any blind fitted to the rooflight, whether a simple pull-down blackout or a motorised pleated blind, is generally the last thing to go in, and works best when its box sits recessed within the reveal rather than proud of it, which is a further reason to know the reveal's final depth before the blind is ordered. The options for keeping a blind out of the sightline are covered on what blinds work under a flat rooflight.
The reveal is also part of keeping the glass looking clear from below
A reveal that is not insulated where it passes through a cold void can act as a cold bridge, and the first sign is usually a faint tide mark or a patch of damp plaster near the top corner rather than anything on the glass itself. Where a shaft is being built into an existing flat roof, it is worth checking that insulation continues up around the boarding, not just across the ceiling either side of it, and that the finish is set to shed rather than trap any moisture that does reach it. The wider question of misting and staining on the glass, rather than the plaster, is answered on do flat roof skylights get condensation.
None of this depends on the size of the rooflight above it. A small pane over a landing and a wide pane running the width of a kitchen extension both need the same care in the shaft below, though the room's proportions do change how deep or wide that shaft can sensibly be; that relationship is covered on flat rooflight sizes and room proportion.
A reveal drawn before the roof is opened, not guessed at afterwards
Every quote from Clearview Skylights comes with a sightline sketch: a drawing of the view from the actual seat, bed or worktop the room is built around, showing where the frame edge falls and how the reveal opens the sky above it. For a flat rooflight, that sketch is where the choice between a square and a splayed reveal gets settled, alongside the kerb height and the depth of the shaft, so the shape of the plaster is decided with the same care as the glass itself. You can read how the sketch is put together on the sightline sketch: how we plan the view, and see how reveal depth and kerb height interact with the wider fitting on the flat roof rooflight installation page. General figures on what affects the price of a job, reveal work included, are set out on what affects the cost of a rooflight.
We install to current Building Regulations and handle the Building Control notification where the work is notifiable, and every installation carries a ten-year workmanship guarantee that covers the finished job, reveal and all.
Questions worth settling before the plasterer is booked
Does a splayed reveal cost more than a square one?
Yes, generally. The compound angles at each corner take longer to set out and board neatly than a standard right-angle junction, and a plasterer working a splay needs to scribe each joint rather than use an off-the-shelf bead. The extra time is in the labour, not the materials.
Can an existing square reveal be changed to a splay later?
Only by stripping the studwork and boarding back out and rebuilding it, since the frame underneath is cut to a fixed angle. It is far simpler to settle the shape before the first board goes up than to alter it once the room is decorated.
Does the reveal need its own insulation?
Where the shaft passes through a cold or unheated void, yes: boarding it without insulation behind it can leave the reveal colder than the surrounding ceiling, which is what leads to a damp mark near the top edge rather than a problem with the glass itself.
Should the reveal match the ceiling colour exactly?
A close match in a flat, matt finish generally reads best, because it keeps the eye moving from ceiling to sky without a visible break. A noticeably different colour or a glossier sheen tends to draw attention to the reveal as a frame rather than letting it disappear.
Keep reading
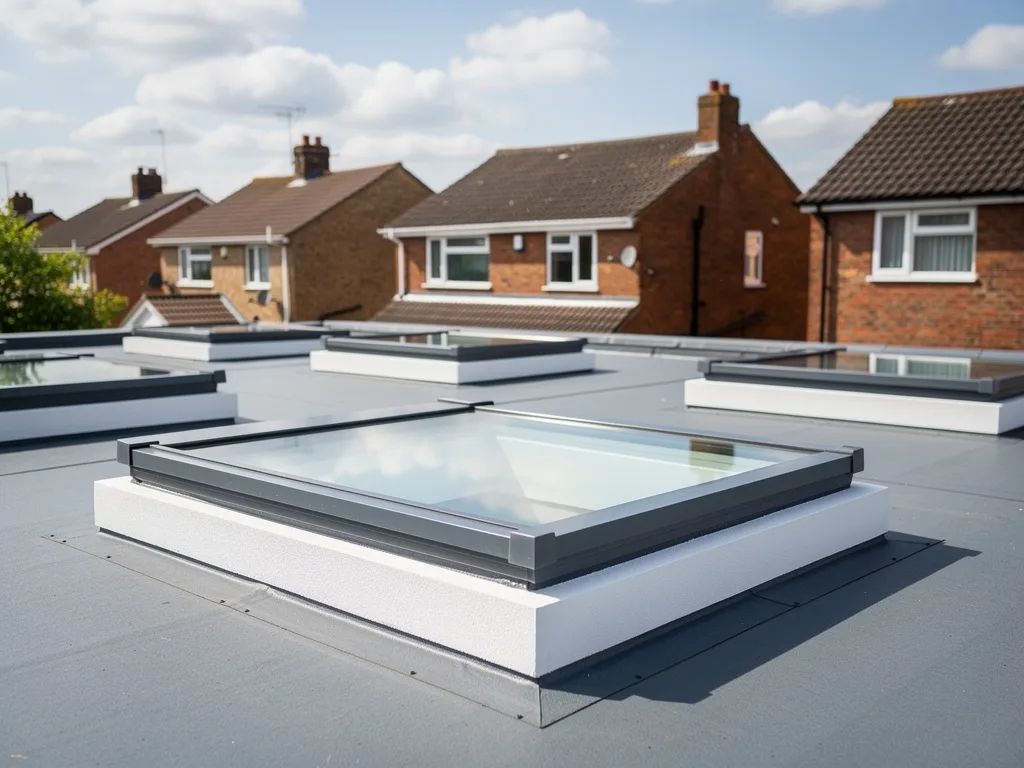 GuideFlat Rooflights on EPDM, Felt and GRP RoofsFelt, EPDM and GRP each meet a rooflight kerb differently, and getting that junction right is what keeps the roof watertight.
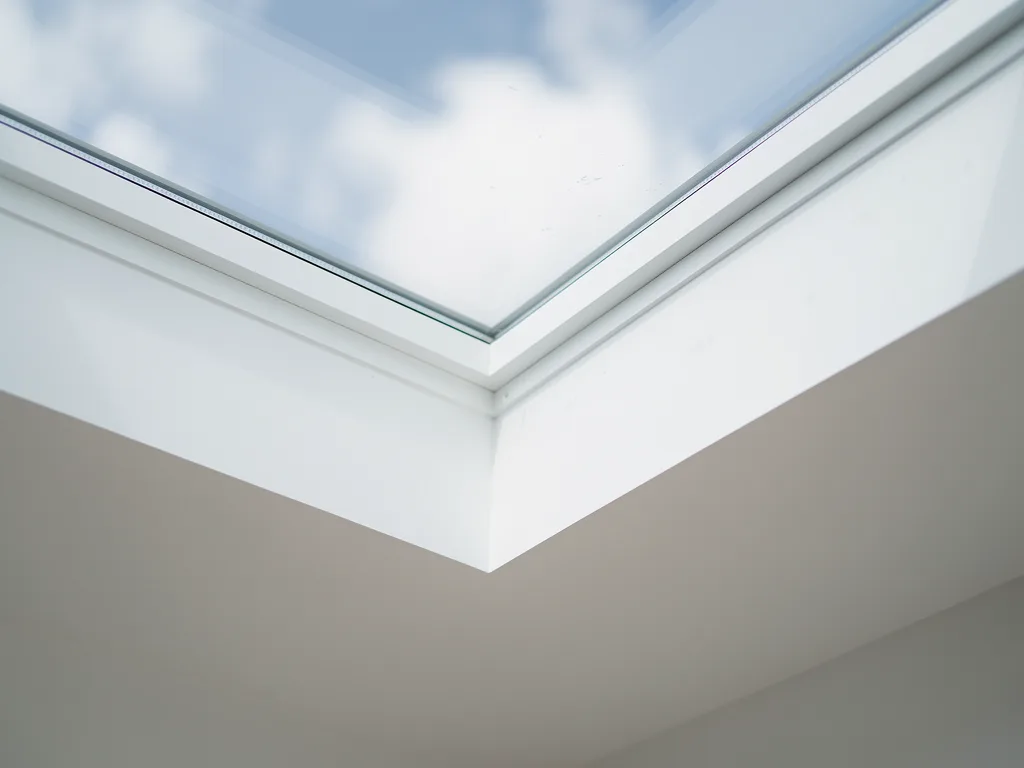 GuideWhy Flat Rooflights Are Not Quite FlatWhy a flat rooflight is never quite level, and how that hidden fall keeps rain, dirt and standing water off the glass.
 GuideLighting the Back of a Single-Storey Extension From AboveWhy the back of a single-storey extension stays dark and where a flat rooflight should sit to reach it.
Book a home visit
Tell us which room
- No obligation
- Sightline sketch included
- 10-year guarantee
Or call 01733 736163