Guide · Electric and opening rooflights
Controls, Remotes and Smart Home Links for Rooflights
From a simple wall switch to a full smart home link, here is what each control for an opening rooflight gives you, and how they work together.
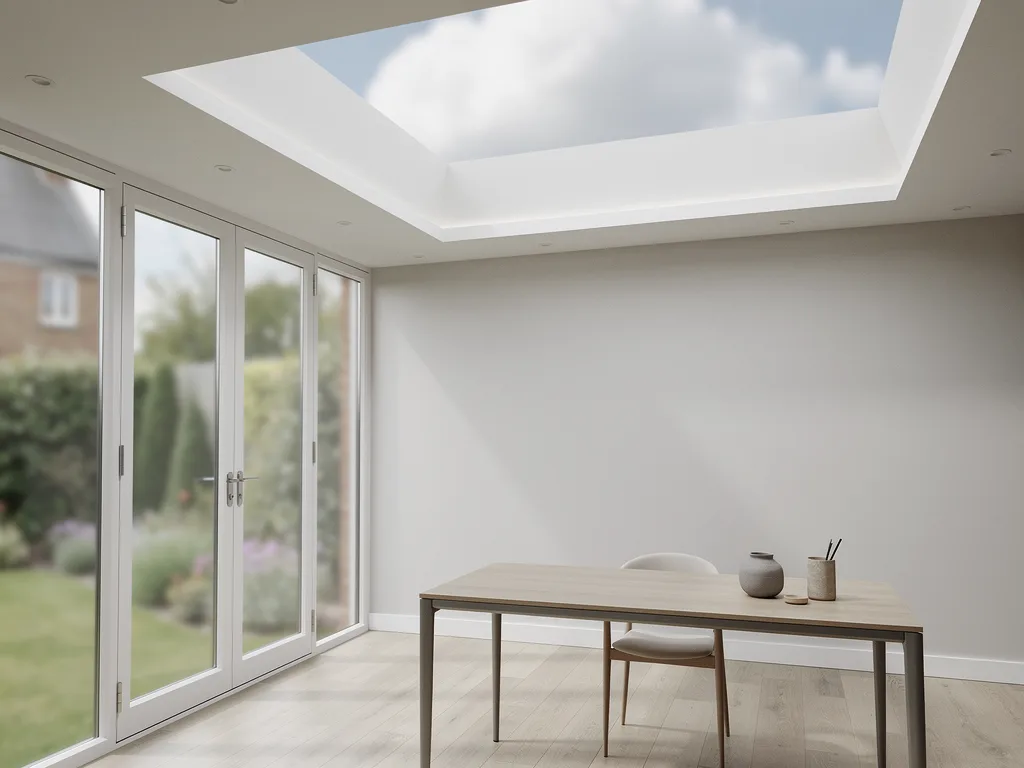
The wall switch is the plainest control there is
A wired wall switch does one job and does it without fuss: press it, the actuator opens the rooflight, press it again and it closes. No pairing, no app, nothing to charge. Most electric rooflights are still specified with one as standard, even where a remote or an app is added on top.
The switch sits on a low voltage control circuit, separate from the mains supply that runs to the actuator itself, so the plate on the wall carries a safe, small current. It is usually a rocker or a two-way toggle: hold one side to open, the other to close, and release to stop the sash wherever it has reached. Some switches add a third position that runs a fixed sequence, useful where a rooflight also handles smoke ventilation and needs to open fully in one movement rather than a held press.
Position matters more than people expect. A switch fitted where it is easy to reach without craning under the rooflight, and away from a bed headboard or a worktop that will later hide it, gets used properly for years. On a kitchen or bathroom installation, that usually means beside the door rather than tucked behind an appliance.
A handheld remote frees the control from one fixed spot
A remote does the same job as a switch over radio rather than a wire, so there is nothing to chase back to the actuator except its own battery. That makes it the practical answer for a landing rooflight reached from more than one room, or a loft conversion where running a new cable to a convenient wall would mean lifting boards that are already down.
Pairing a remote to an actuator is a short procedure done once at handover, and most systems allow several remotes to be paired to one rooflight, or one remote to be paired to several rooflights so they open and close together. That second option suits a run of rooflights along a ridge or set over a stairwell, where opening them one at a time from separate switches would be tedious. We cover the detail of grouping several units on this page on controlling more than one rooflight from a single remote.
A remote does not replace the wiring between actuator and mains, or the low voltage link to any rain sensor fitted with the unit. It only replaces the handset. The rooflight still needs the wiring covered on our page about powering an electric rooflight from the mains, a solar panel or a battery, whichever route suits the roof and the room below it.
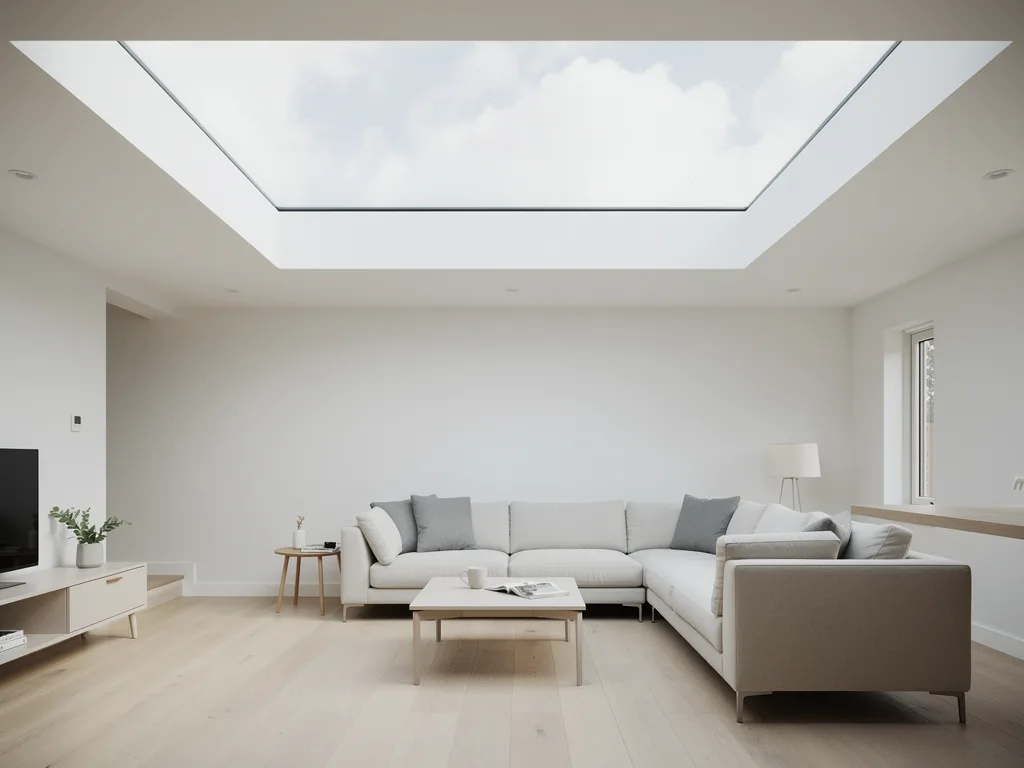
What an app actually adds, beyond a longer remote
An app talks to the rooflight through a small bridge or gateway plugged into the home network, which then relays the open, close and stop commands the same way a remote does. The genuine gain over a remote is not the button itself, since a remote already does open and close from anywhere in the house. The gain is information and scheduling: the app shows whether a rooflight is open, part open or closed, sends a notification if the rain sensor has closed it while you were out, and lets a household set a rooflight to open for a set period each morning to clear a bathroom or vent a bedroom overnight.
That status view matters most for a rooflight that is out of sight, reached over a stair void or above a room used only occasionally, where a household would otherwise have no way of knowing it had been left open. For the everyday case, a rooflight above a bed or sofa that is opened and closed by whoever is in the room, a switch or remote already covers the job, and the app is an extra rather than a replacement.
Any smart layer sits on top of the actuator and its own controls, described in full on how electric opening rooflights work. The rooflight will still open and close from its switch or remote if the network or the app is unavailable.
Joining a rooflight to a wider smart home system
Some households already run a whole home system, controlling lighting, heating and blinds from one app or one set of switches, and want a rooflight added to it rather than run as a separate item. This is possible on many electric rooflights, through a bridge device that translates the rooflight's own protocol into the language the wider system speaks, and it is worth confirming compatibility at survey stage rather than after the roof is opened.
The table sets out the four levels in plain terms, from the simplest wired switch to a full smart home link.
| Control | Reach | Needs a bridge | Groups rooflights |
|---|---|---|---|
| Wall switch | One fixed point | No | No |
| Handheld remote | Anywhere in range | No | Yes, several together |
| App over wifi | Anywhere with a signal | Yes, one bridge | Yes, by named scene |
| Whole home system | Anywhere, voice too | Yes, the home hub | Yes, by named scene |
Voice control, where the household already has a smart speaker, works through the same bridge as the app rather than talking to the rooflight directly. It is a convenience layer, useful for opening a kitchen rooflight with wet hands or closing a bedroom one from bed, and it depends on the bridge staying connected to the home network.
Behind the scenes, rooflight actuators tend to speak one of a handful of low voltage radio protocols, and the bridge device translates that protocol into whatever the wider smart home system understands. A household planning a smart home system from scratch, alongside heating and lighting, gains most by settling on one ecosystem early and checking a rooflight actuator will bridge into it, rather than choosing the rooflight first and hoping a bridge turns up later. Where a home already runs an established system, we confirm compatibility at survey rather than promising a link that then has to be worked around on the day.
Timers and scenes, and why a rain sensor still wins
A timer or a scheduled scene is a convenience, not a safety feature. It might open a landing rooflight for twenty minutes each morning to vent the house, or close every rooflight at a set time each evening. Setting a schedule through the controller or the app is straightforward once the rooflight is commissioned, and a schedule can be changed or paused at any time from the same app.
What a timer or scene never overrides is the rain sensor, or a wind sensor where one is fitted. Those close the rooflight the moment weather turns, whatever a schedule or a manual command has just asked it to do, and that priority is built into the actuator's own logic rather than the app. On the flat, open runs of the Fens around Peterborough, a sudden gust can arrive with little warning, which is why we explain the case for a wind sensor on its own page, why a rooflight would need one, alongside the rain sensor most electric units already carry.

Restricting who can open a rooflight, and how far
A rooflight reached by a small child, or one placed low enough on a mezzanine or stair void to be within reach, usually carries a restricted opening setting alongside its physical pinch guards. That setting limits how far the sash travels on a normal command, and on some controllers a lock code or a removable key stops the rooflight being operated at all from a given switch or remote. The physical side of this, the guards and restrictors themselves, is covered on our page about safety on opening rooflights.
Restricting a control is a setting made at commissioning, not something added after the event, so it is worth raising at survey if the room below the rooflight is one where children play or sleep.
Where the wiring lives, and keeping the room uncluttered
Every route above, switch, remote, app or whole home system, still needs a control cable running from the actuator to wherever the low voltage signal originates, and a mains or low voltage supply to the actuator itself. Deciding that route at survey means the cable can run inside the roof void or a stud wall rather than surface mounted afterwards, and it lets us fix the switch plate at a height and position that suits the room rather than wherever the cable happened to come out.
None of this changes the view through the glass, since the wiring and the switch plate sit in the wall, not the frame or the reveal. The frame depth an opening rooflight adds to the sightline is a separate question, covered on opening rooflights and the view. But a badly placed switch, one fitted where a wardrobe or a worktop later covers it, is its own kind of clutter, so we agree the position with the household before first fix rather than after.
Connecting the supply itself, whether that is a spur from the ring main, a dedicated fused connection or a link to an existing lighting circuit, is electrical work carried out to current wiring regulations. We set out who does that connection, and what a household needs to arrange in advance, on who connects the power for an electric rooflight.
In a loft conversion or an extension still open to the joists, the control cable is chased into a stud wall or run within the void before the plasterboard goes up, so nothing shows on the finished wall but the switch plate itself. In an older house where the ceiling and walls below the rooflight are already finished, the same cable is more often run in slim surface trunking along a skirting or door frame, painted to match, rather than cutting into plaster that would then need making good. Either way, agreeing the route on the survey visit, before any cable is bought or any board is lifted, avoids a switch plate landing somewhere convenient for the electrician rather than convenient for the room.
Deciding the control at survey, not after the roof is closed
Choosing a switch, a remote, an app or a full smart home link is easiest done before the roof is opened, since it decides the cable run, whether a bridge device needs a spot near the router, and whether the actuator needs a mains spur or can run from the battery and solar options set out in our power guide. Retrofitting a smart bridge later is usually possible without touching the roof again, since it plugs into the same low voltage circuit the switch already uses, but the cable route itself is far simpler to plan once and get right the first time.
Every quote for an electric or opening rooflight from Clearview Skylights includes a sightline sketch showing the view from the bed, sofa or worktop that matters in that room, alongside the practical detail of where switches, cables and any bridge device will sit. You can read more about how that drawing is put together on the sightline sketch page, and what tends to move the overall price on our costs guide. To talk through the control options for your own roof, book a home visit.
Sorting the practical questions before fitting
Do I need a wall switch if I am choosing a remote instead?
A wired switch is usually specified alongside a remote, since it gives a fixed point of control that never needs a battery and is easy for anyone in the house to find and use. A remote is added for convenience, not usually fitted as the only control.
Can smart control be added after the rooflight is already fitted?
Often yes, since a bridge device typically connects into the same low voltage circuit the switch already uses, without needing the roof opened again. It is still worth confirming compatibility with the specific actuator fitted, which is easiest to check at survey stage even if the smart layer is added later.
Does an app replace the manual switch or remote?
No. The switch and remote work independently of the network and the app, so the rooflight still opens and closes normally if the home wifi or the bridge device is offline. The app adds status and scheduling on top, rather than replacing the physical controls.
Will one smart hub work with rooflights from more than one manufacturer?
That depends on the protocol each actuator uses and the bridges the hub supports, so it is a question to raise at survey rather than assume. Where a household is combining an existing rooflight with a new one from a different range, we check compatibility before quoting the control layer.
Keep reading
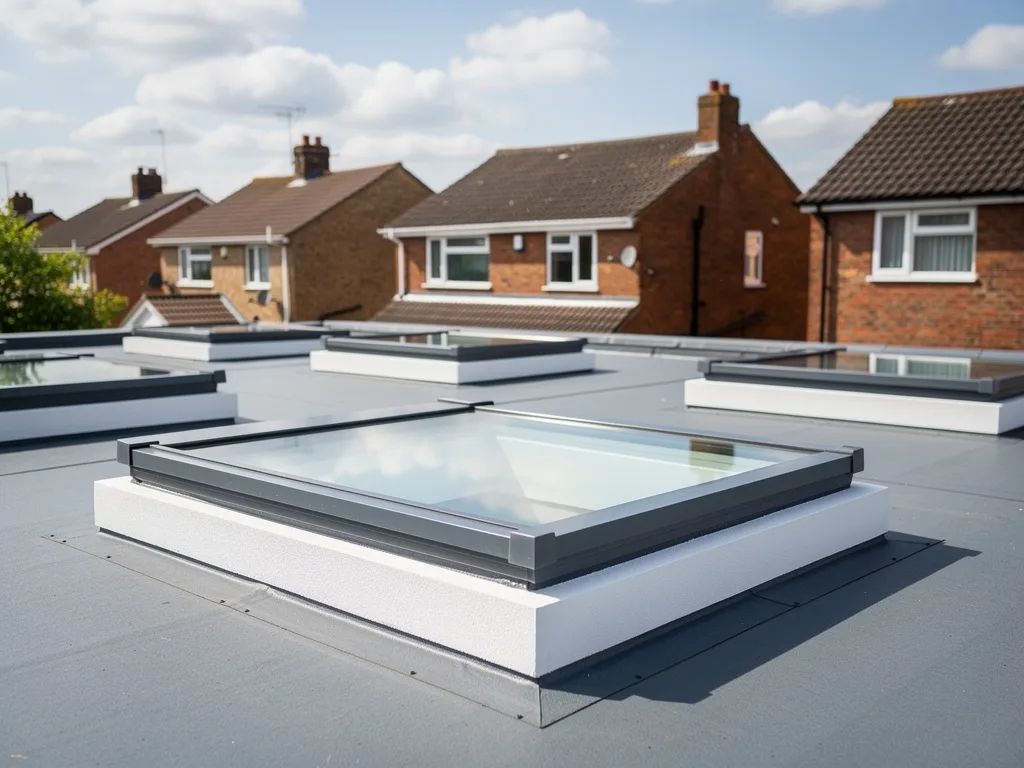 GuideHinged or Sliding Flat RooflightsHinged rooflights lift open at one edge; sliding ones stay flat and run sideways, better suited to a roof terrace.
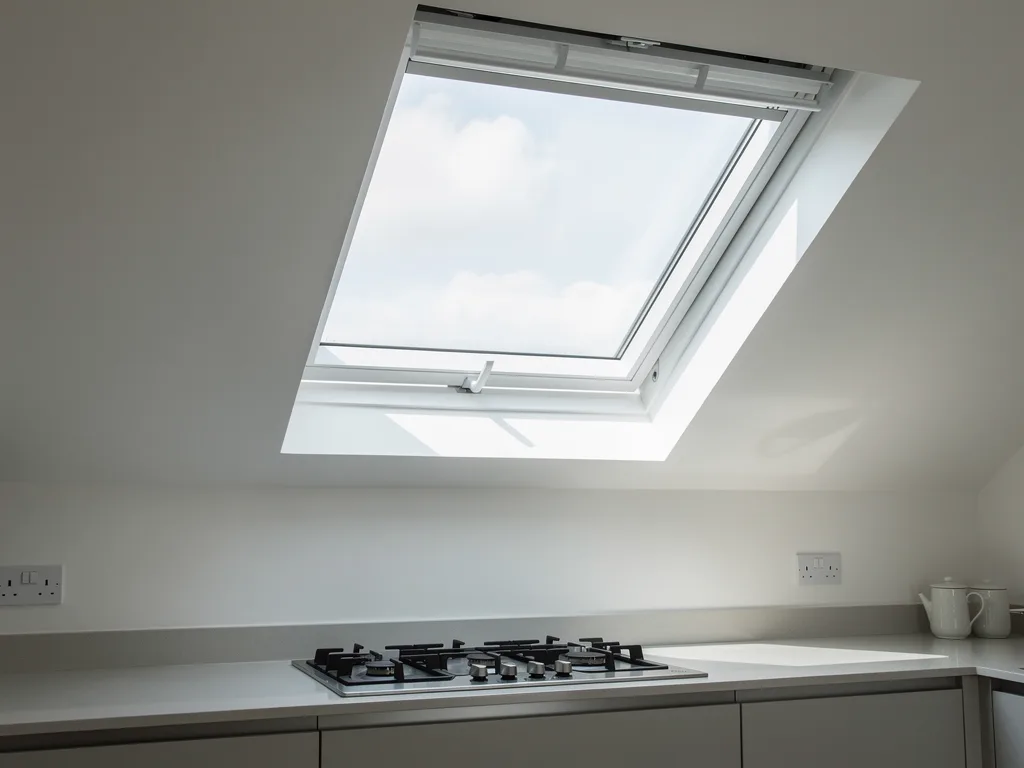 GuideRooflights for Ventilation: Purge, Trickle and Stack EffectHow stack effect drives purge and trickle ventilation through an opening rooflight, and what that means for a real room.
 GuideAccess Hatch Rooflights for Roof TerracesHow an access hatch rooflight is sized, hinged and guarded to give safe access onto a flat roof or terrace.
Book a home visit
Tell us which room
- No obligation
- Sightline sketch included
- 10-year guarantee
Or call 01733 736163