Guide
Choosing a Reveal Shape: Splayed, Square or Deep
The reveal is the last few inches between plaster and glass, and its shape decides how much sky you actually see from the bed, the sofa or the sink.
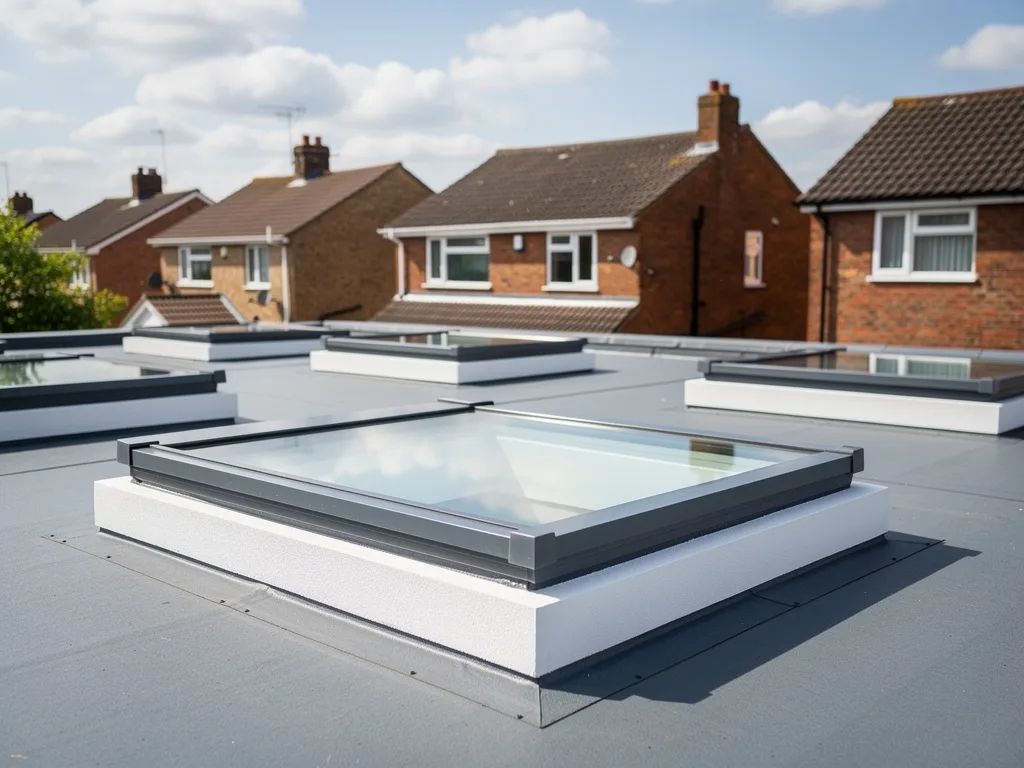
A rooflight is only as good as the last few inches before the glass. That gap between the ceiling and the frame is the reveal, and its shape decides how much sky actually reaches your eye once the plasterer has gone home. Splayed, square and deep are the three ways that gap gets lined, and each hands you a different view from the pillow, the sofa or the sink. The shape costs almost nothing to get right at survey stage and a full re-line to correct afterwards, so it is worth settling before the roof is opened.
Three ways of lining the same hole in the roof
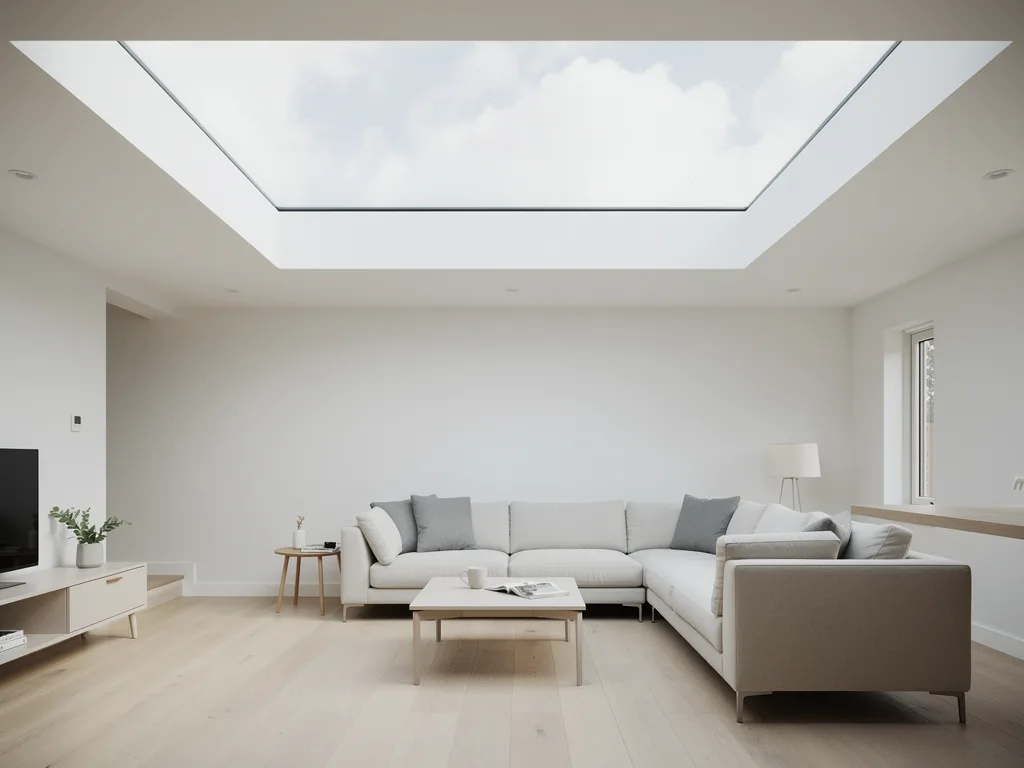
Square, splayed and deep are not three different products; they are three ways of finishing the plaster around one and the same opening, and each changes the view without touching the glass at all.
A square reveal runs straight up from the ceiling line to the underside of the frame, at ninety degrees to the ceiling on all four sides, like a plain box let into the roof. A splayed reveal opens outward as it rises, so the hole in the ceiling is smaller than the hole at the frame, and the lining slopes away from vertical on some or all sides. Deep is not really a shape at all; it describes any reveal where the roof build-up, an upstand, thick insulation or old rafters push the glass well above the ceiling line, whichever way the sides are then lined. A deep opening can be finished square or splayed, and the difference between those two choices matters more the deeper the opening runs.
Which one you end up with is partly decided by the roof and partly by choice. A flat rooflight on a shallow upstand rarely needs the question answered at all, because there is barely a reveal to shape. A pitched roof window set into a loft conversion, or a lantern well over a kitchen table, is where the decision earns its keep. Our guide to frame profiles and sightlines covers what happens above the ceiling, at the glass itself; this page is about what happens below it, in the plaster you actually look through to get there.
Why opening the sides changes what the eye can reach
A splay does not make the glass any bigger. What it does is stop the reveal wall itself from getting in the way of a sightline that is not dead straight down the middle of the room.
Sit under a deep, square reveal and look up from anywhere off centre, from the far side of the bed rather than lying flat beneath the glass, and the near wall of the reveal starts to close off the sky before your line of sight ever reaches the frame. The reveal behaves like a short tunnel: dead centre, you see the full rectangle of glass; a little to one side, you see less of it; further still, you see none of it and only the lit plaster around it. Splay the same reveal outward and that tunnel effect eases. The wall your eye would have caught is no longer standing in the way, because it has been angled back out of the sightline, so a wider band of the room keeps a clear view of the glass rather than only the spot directly beneath it.
A splay angle of around thirty degrees off vertical is a common practical choice: enough to open the sightline without making the lining awkward to plaster or the insulation hard to keep continuous at the shallow edge. The table below shows how much extra width that adds at the ceiling for a few reveal depths, using a splay on both sides.
| Reveal depth | Extra width each side (30° splay) | Ceiling opening versus the glass |
|---|---|---|
| 100 mm | about 58 mm | glass width plus about 115 mm |
| 200 mm | about 115 mm | glass width plus about 230 mm |
| 300 mm | about 175 mm | glass width plus about 345 mm |
| 450 mm | about 260 mm | glass width plus about 520 mm |
Past a certain depth the extra width a full splay needs starts to eat into the ceiling either side of the opening, which is one reason a very deep reveal is sometimes splayed on two sides only, or splayed less steeply, rather than opened out on all four.

Where a square reveal earns its keep
A square reveal is not a compromise; on a shallow opening it is usually the right answer, because there is not enough depth for a splay to change anything the eye would notice.
On a flat rooflight with a short upstand, or a roof window set into rafters with a modest loft depth, the glass sits close enough to the ceiling that a straight-sided lining reads as clean and deliberate rather than boxy. The corners are simple to form, the plasterer is cutting square angles rather than compound ones, and there is no shallow edge where insulation has to be tapered to keep the fabric continuous. For a small opening, a landing rooflight or a bathroom unit above a shower, a square reveal keeps the ceiling detail tidy without adding a job for the joiner.
The trade-off shows up once the opening gets deeper or the room is used from more than one spot. A square reveal over a desk works well if the desk sits directly under the glass; the same reveal over a sofa that runs along one wall, well off centre, can leave the person at one end of it looking at plaster rather than sky. Glazing bars and the view covers a related trade-off at the glass itself, between one clear pane and a bar across it; reveal shape is the equivalent question for the lining below the glass.
When the roof itself forces a deep reveal
Some roofs decide the reveal depth before anyone gets to choose a shape, and on those jobs the shape becomes the only lever left for keeping the view open.
A flat roof rooflight sits on a kerb that has to clear the insulation and the waterproof covering, which on a well insulated warm roof can put the underside of the glass a good way above the ceiling line. An older pitched roof with deep rafters, or a loft that has since been topped up with modern levels of insulation, does the same thing from the other direction: more depth to get through before the lining reaches the frame. Either way, the result is the same tunnel that a splay is built to soften.
Picture the eye position that actually matters in the room, a seat, a pillow or a spot at the sink, and trace the line from there up to the glass. On a deep, square reveal that line meets the near wall of the lining before it clears the frame, and what you get back is a lit box of plaster with a bright gap at the top rather than an open view of sky. Splay the same depth and the line has room to travel past the reveal wall and out through the glass instead. The deeper the reveal, the more that difference is worth having, which is why a lantern well over a kitchen extension is nearly always worth splaying, while a shallow flat rooflight rarely needs the discussion at all. What is disturbed to make that change, and what is made good afterwards, is covered in our guide to making good inside after a rooflight is replaced.
Reading the shape from where you actually sit or lie
The right reveal shape is set by the spot in the room the glass is meant to serve, not by the middle of the ceiling, because that is where the sightline the shape is protecting actually starts.
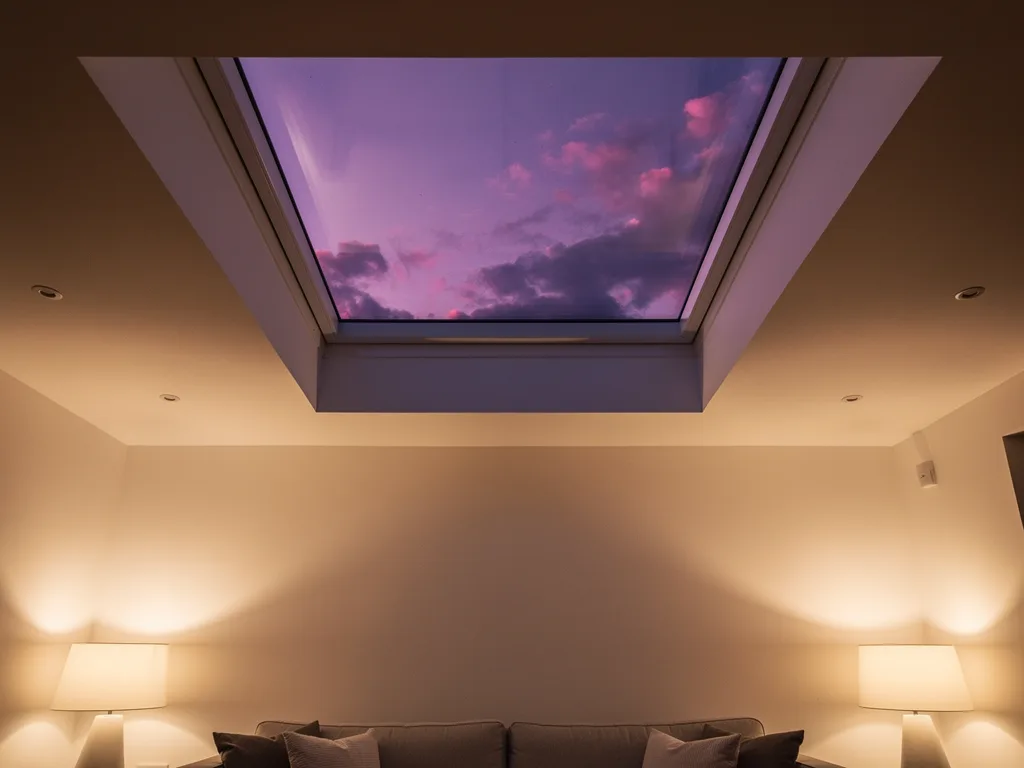
A rooflight placed over a bed is usually meant to be seen from a specific side of it, whichever side the sleeper lies on, and a splay opened generously toward that side keeps the sky in view even when the head turns rather than staying square to the ceiling. Our guide to placing a rooflight over the bed looks at position; shape does the rest of the work once the position is settled. Over a sofa that runs the width of a room, the same logic argues for a splay that opens along the length of the seating rather than evenly on every side, so that someone at either end keeps a share of the sky rather than only the person sitting dead centre.
A kitchen sink is a narrower case, because the eye position there barely moves: you stand close to the glass, looking almost straight up while your hands are in the bowl. A short, close reveal at that spot rarely needs much of a splay, since there is little tunnel to soften in the first place. The test in every case is the same one we use at survey, standing or sitting in the actual spot and looking up, rather than judging the reveal from the middle of the room.
Building a splay without losing the insulation
A splay is a joinery detail before it is a plastering one, and getting the insulation to run continuously through the angled section is what separates a good splay from one that shows a cold stripe on a thermal camera years later.
The studs or noggins that carry the plasterboard are cut at the splay angle rather than square, which is straightforward carpentry but takes longer to set out than a square box. The harder part is the insulation behind the board. At the shallow edge of a splay, where the lining is closest to the outside of the roof, there is less depth to fit insulation into than there is further down the reveal, so the detail has to be planned so the thinnest point still meets the same standard as the rest of the roof, rather than being left as a gap because it was awkward to reach. Plasterboard is cut and scribed to the angle, and a splayed internal corner needs its own bead rather than the standard ninety degree bead used on a square reveal, which is a small extra step but not a difficult one for a competent finisher.
None of this changes what Building Control is checking. The opening still has to meet the same requirements for structure, insulation continuity and safety glazing whichever way the reveal is lined, and we handle the notification where the work is notifiable. What Building Control checks on a new rooflight sets out what is assessed, reveal shape included.
Reveal shape across Peterborough's roofs
The roofs around Peterborough do not all set the same reveal question, and the shape that suits a new-town semi is rarely the one that suits a stone cottage near Stamford.
Peterborough's new-town townships, Bretton, Orton, Werrington and Hampton, were built from the late twentieth century onward on trussed roofs with shallower lofts than an older Victorian or Edwardian house would give. A rooflight going into that kind of roof is often working with less depth to begin with, which keeps the reveal itself relatively shallow and the case for a full splay less pressing, though a landing or stairwell unit set back from the ceiling can still benefit from one. Our guide to rooflights for Peterborough's new-town homes covers the roof structure side of that in more detail.
Around Stamford and the Nene valley villages, where Collyweston stone slate and limestone cottages set the character of a street, the units chosen tend to sit low and flush with the roof line rather than standing proud of it, which keeps the reveal short and argues for a clean, unfussy lining rather than a deep, heavily splayed one. Our conservation rooflight installation service covers that flush fit approach and what it asks of the reveal. On Fletton brick terraces and semis across the rest of the city, the roofs sit between those two extremes, and the reveal question is usually decided room by room rather than street by street: a loft bedroom over the stairs behaves differently from a single storey rear extension, even on the same house.
Settling the shape before the roof opens
Reveal shape is one of the few decisions on a rooflight job that costs nothing to get right and a full re-line to correct, which is exactly why it belongs on the drawing before the roof comes off.
At survey we work out the eye position that matters in the room, the pillow, the sofa or the sink, and draw the reveal on the sightline sketch alongside the frame and any glazing bar, so the shape is agreed on paper rather than discovered once the plaster is finished. Splayed, square and deep are simply the vocabulary for that conversation, not a decision that has to be made unaided. Where an existing rooflight is being swapped for a new one, the same drawing shows whether the current reveal is worth keeping as it is or opening up while the roof is already exposed, which our guide to every type of rooflight and skylight compared can help narrow down alongside the unit itself.
If you would like the reveal drawn out for your own room before committing to a shape, book a home visit or message us on WhatsApp, and we will bring the sightline sketch with us.
The practical questions about reveal shape
These are the questions that tend to come up once splayed, square and deep are on the table, with plain answers to each.
Can an existing square reveal be changed to a splayed one without touching the roof outside?
In most cases, yes. The splay is formed inside the room, in the lining between the ceiling and the frame, so it can usually be reworked without disturbing the glass, the frame or the covering outside. It does mean opening up the existing plaster and re-forming the studwork, so it is worth planning at the same time as any other work to the room.
Does a splayed reveal use noticeably more plasterboard and insulation than a square one?
A little more board is needed, because the angled faces have a slightly larger surface area than the same reveal lined square, and the insulation at the shallow edge needs more careful cutting to keep it continuous. It is not a large difference in materials; the extra time is mostly in setting out the angle and finishing the corners neatly.
Can the two sides of a reveal be splayed by different amounts?
Yes. A reveal can be splayed generously toward the side of the room where the eye position sits, over the head of a bed or along the length of a sofa, and left closer to square on the other side. It is a common answer where one side of the room is used far more than the other.
Is a deep reveal always going to shrink the sky, whatever shape it is lined?
Not if it is splayed. A deep, square reveal is the combination that closes the sky down to a letterbox from anywhere off centre; the same depth lined with an outward splay keeps most of that sightline open. Depth on its own is not the problem; depth left square is.
Keep reading
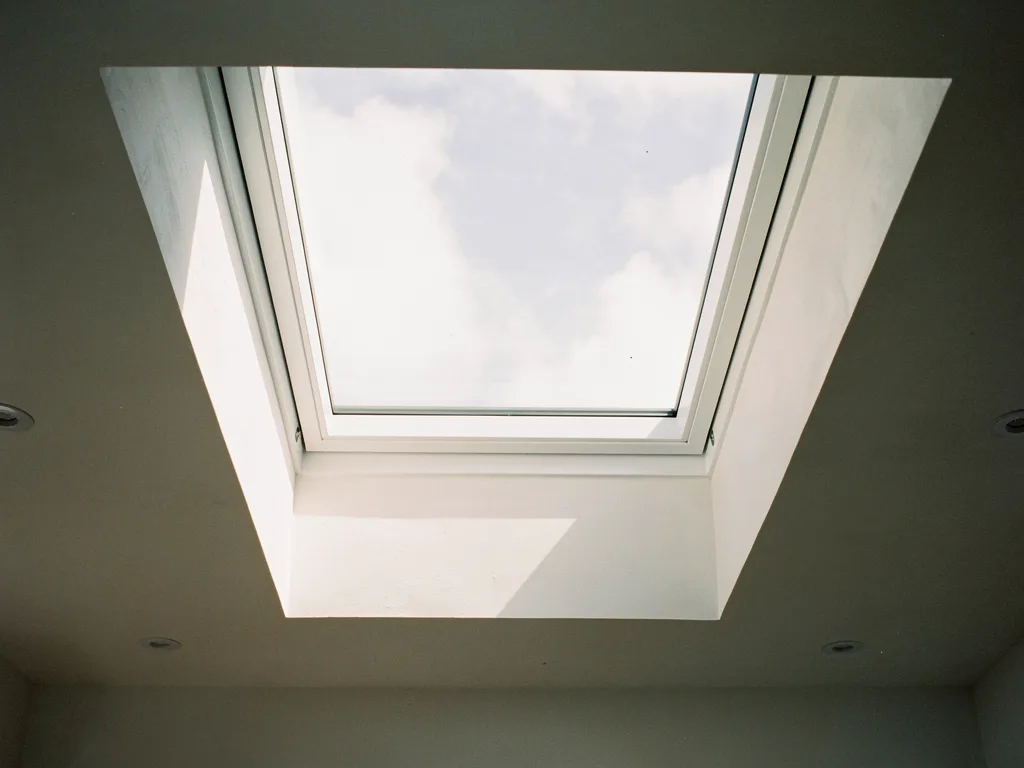 GuideMaking Good Inside After a Rooflight Is ReplacedWhat making good involves after a rooflight is replaced, from the plastered reveal to a ceiling ready for decorating.
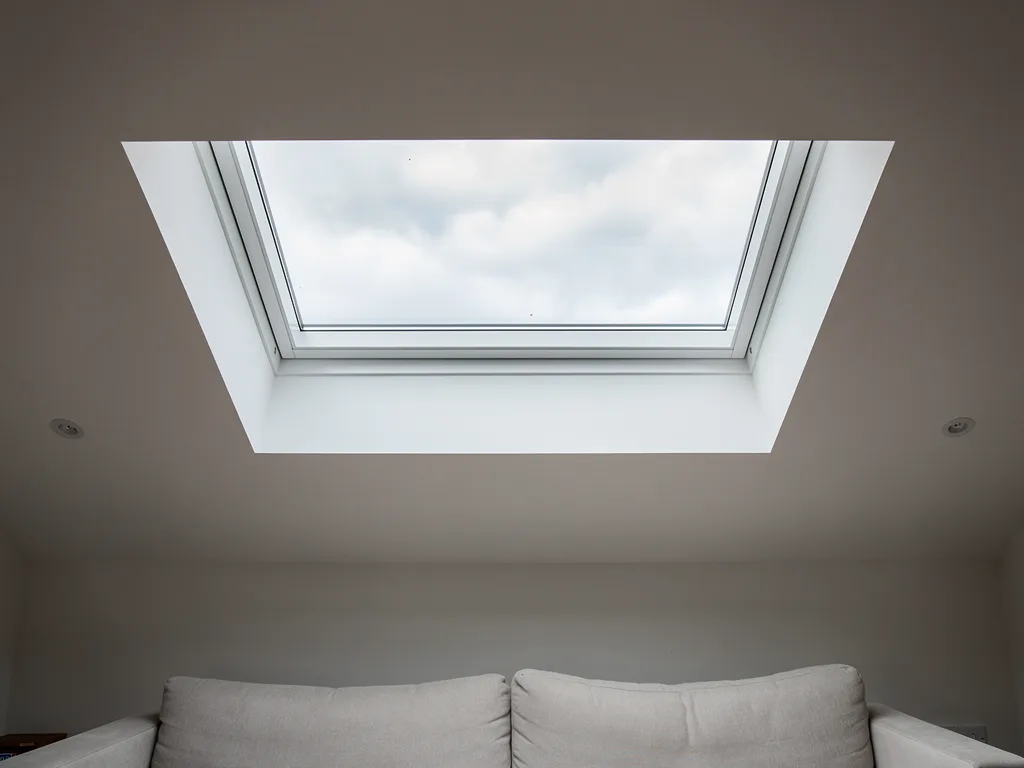 GuideSkylight Blinds That Keep the ViewBlackout, pleated and awning blinds for rooflights, and how box depth decides whether the view stays clear when they open.
 GuideRooflights for Peterborough's New-Town HomesWhy new-town roofs across Peterborough need different rooflight planning to an older terrace.
Book a home visit
Tell us which room
- No obligation
- Sightline sketch included
- 10-year guarantee
Or call 01733 736163