Guide
Making Good Inside After a Rooflight Is Replaced
Replacing a rooflight disturbs more of the room than the roof outside suggests. Here is what is re-lined, plastered and made good before you decorate.
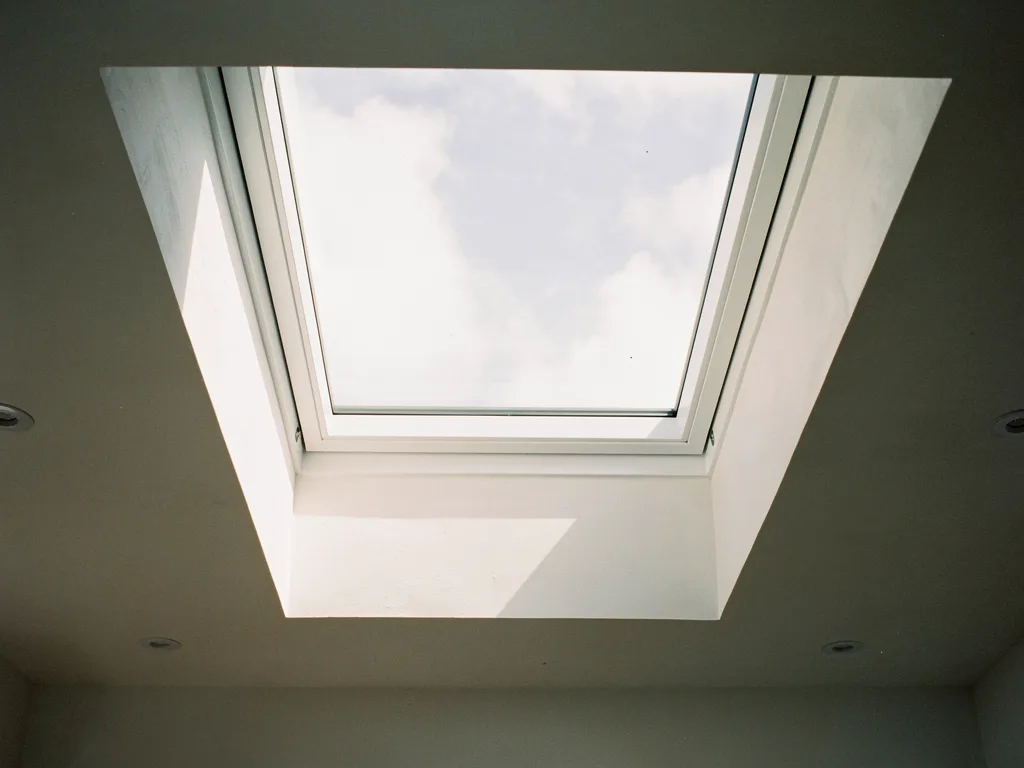
Making good is a room job, not just a roof job
Replacing a rooflight is talked about as roof work, and most of it is: the old unit comes out, the new one is fixed, flashed and weathered into the covering. But underneath that roof work sits a second job that happens entirely inside the house, in the room the glass looks down into. Making good is what turns a hole in the ceiling back into a finished opening, ready to live with and ready to decorate.
It covers the plastered reveal around the glass, the ceiling edge where that reveal meets the flat of the room, and whatever sits close enough to the old opening to be disturbed when the new one goes in. On a straightforward swap this is a modest amount of finishing. On a job where the reveal shape is changing, or the opening is moving even slightly, it is closer to a small plastering job in its own right, and worth planning for as one rather than assuming it will be an afterthought on the day. This guide sets out what is disturbed, how it is put right, and what a finished job actually leaves you with, alongside our wider guide to replacing old rooflights and the overview of skylight and rooflight installation in Peterborough.
What actually gets disturbed inside the room
The part that surprises people is how much of the disturbance happens below the ceiling line rather than above it. The reveal, the lined section between the ceiling plane and the underside of the glass, is built from timber and plasterboard that sits directly against the old frame. Taking the old unit out almost always means taking some of that lining with it, even where the new unit is the same size as the old one.
- The plastered reveal itself, along all four sides of the opening.
- The ceiling immediately around the top of the reveal, where the two meet in a corner that takes the most wear from movement and from the original fixing.
- Any coving or a plaster feature running close to the opening, which rarely turns a clean corner around a reveal without its own short run being cut back and remade.
- Decoration nearest the opening: paint, and occasionally paper, on the reveal sides and the adjoining ceiling.
A straightforward like-for-like swap, same size, same position, disturbs the least of this: the existing lining often comes away and goes back in something close to its old form. Where the opening is being upsized, or the reveal shape is changing from square to splayed, the whole lining is rebuilt rather than simply relined, and the finishing work grows with it. Either way, the honest starting point is that a rooflight replacement touches the room, not only the roof, and it is worth expecting that before the first dust sheet goes down.
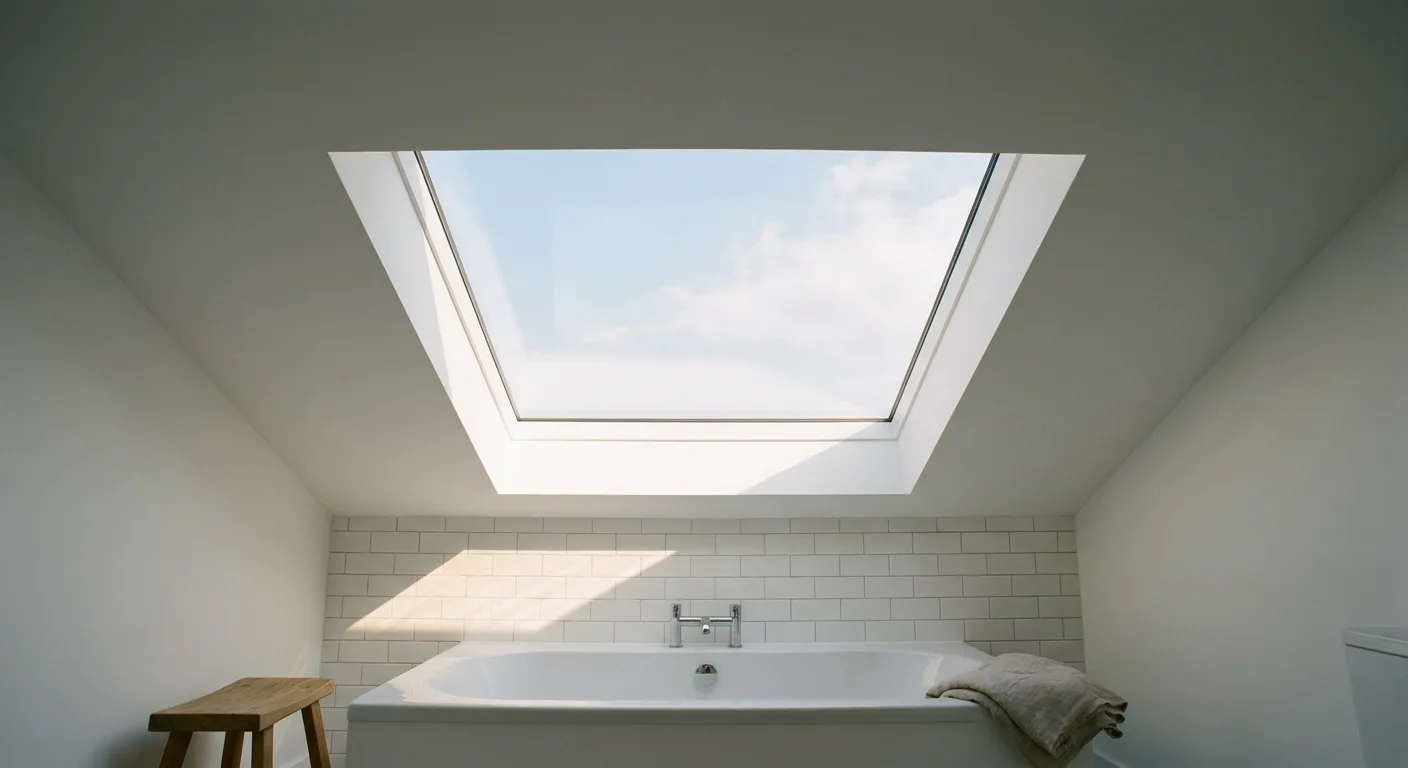
Protecting the room before anything is opened
Before the old unit is touched, the room below it is sheeted and cleared. Furniture that can be moved is moved clear of the working area, and what cannot be moved is covered. Floor protection goes down across the route in and out as well as directly under the opening, since dust and small debris travel further than the opening itself once the roof covering is lifted.
This matters more than it sounds, because the point at which the old unit actually comes free of the roof is also the point at which the room below is briefly open to the outside. Timing that moment, and having the new unit and its flashing ready to go in straight after, keeps that exposure short. Our answer on whether fitting a rooflight makes a mess inside goes through this from the homeowner's side in more detail, and the day-by-day account at what happens on rooflight installation day covers where making good sits within the wider sequence of the job.
What that protection looks like changes a little with the house it is done in. A loft bedroom in one of the Fletton brick terraces common across the city usually has a smaller working footprint below the opening, so sheeting is concentrated tightly around the reveal and the route to the door. A landing or an open-plan extension gives more room to move furniture clear, but also means the sheeted area has to cover a wider stretch of floor, since dust settles across the whole open space rather than staying near the opening itself.
Re-lining the reveal: rebuilding, not just filling a gap
Once the new unit is fixed, flashed and weathered from outside, the reveal below it is built or rebuilt from the room side. Where the shape and depth are staying the same, this is a fairly contained job: new plasterboard against the existing timber lining, skimmed to match the surrounding wall and ceiling finish. Where the shape is changing, the whole lining is formed again from scratch, because a square reveal cannot simply be pushed outward into a splay without new timber studwork behind the plasterboard to carry the new angle.
This is also the point in the whole job where a homeowner has the most freedom to change something that has bothered them for years without any extra roof work at all. A deep, square reveal narrows the sky like a letterbox from below; a splayed one opens that same depth into a much wider view. Because the lining is already open for the new unit, changing its shape here adds finishing time rather than a second structural job. Choosing a reveal shape: splayed, square or deep sets out that decision on its own, and frame profiles and sightlines covers how the reveal works alongside the frame above it to decide what you actually see from the pillow or the sofa.
The depth of the reveal is worth thinking about at the same time as its shape, since the two decide the view together. A deep loft build-up, common where extra insulation has been added over the years, can leave a reveal running thirty centimetres or more from ceiling to glass, and a deep reveal narrows the sky no matter how well it is finished. Splaying the sides does more for the view than any amount of careful plastering on a square one, which is why the shape decision is worth making before the plasterer starts rather than treating the finish as fixed by whatever was there before.
| Reveal situation | What making good involves | Typical finish time |
|---|---|---|
| Same size, same shape | Reline and skim against existing timber | Shortest, often the same day |
| Reveal shape changing | New studwork, full plasterboard and skim | Longer, plaster needs drying time |
| Opening upsized | Reveal rebuilt to the new opening, ceiling edge remade | Longest, allow extra days |
Plastering to a finish ready for paint, not the paint itself
Plastering as part of making good means bringing the reveal and the disturbed ceiling edge to a smooth, sound surface, filled and skimmed so it is ready to decorate. It does not usually extend to painting the room, which stays the homeowner's own job or a separate decorator's, since colour, finish and the rest of the room's decoration are choices well beyond what the roof work touches.
New plaster needs time to dry before it takes paint properly. A skim coat over a small, relined area dries faster than a full new reveal built from fresh plasterboard, where the boards, the joint filler and the skim coat all need to lose their moisture before a mist coat goes on. Painting too soon over damp plaster is the single most common reason a freshly made-good reveal looks uneven or flat once decorated, even where the plastering itself was sound.
Where the reveal has been rebuilt rather than simply relined, it is worth allowing a week or so of drying in normal room conditions before painting, longer in a cold or poorly ventilated room, since damp plaster dries more slowly when the air around it cannot carry the moisture away. A dehumidifier or simply keeping the room warm and lightly ventilated speeds this along without forcing it.
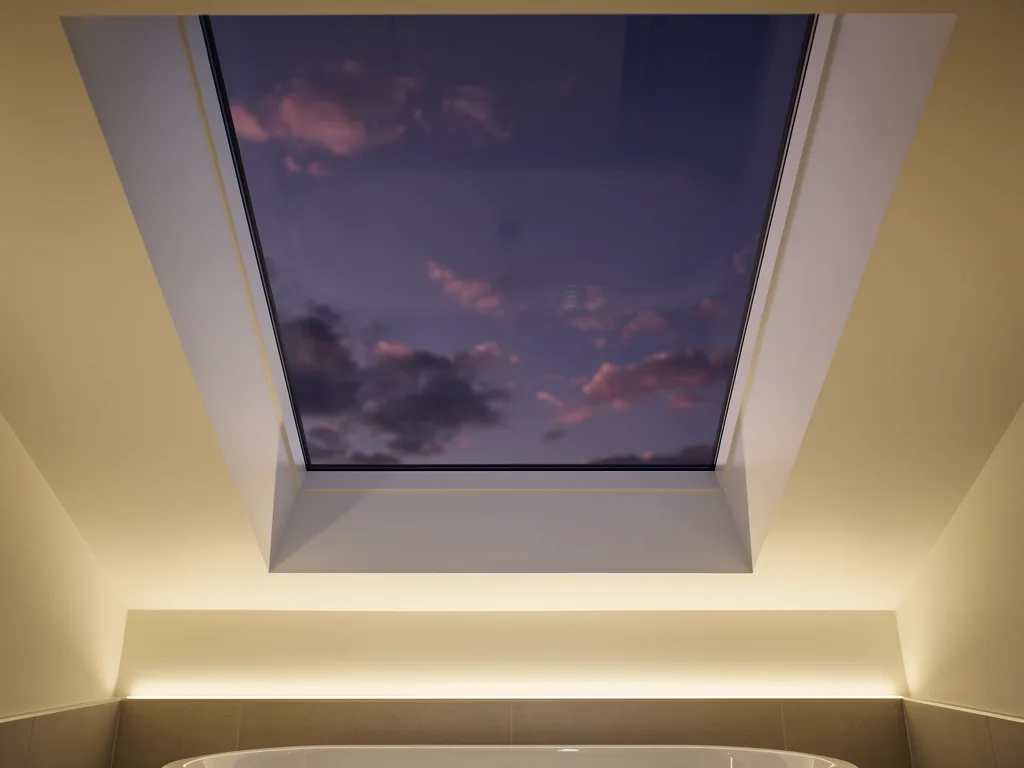
Ceiling edges, coving and fittings nearby
The corner where the reveal meets the flat ceiling is the part most likely to need attention beyond the reveal itself. It carries a mitred or scribed joint on each side, and that joint is where cracking shows first if the two surfaces move independently, or where the old paint line simply will not match a freshly skimmed edge next to years of ceiling colour.
Coving running close to the opening rarely turns a clean corner without being cut back and remade for a short run either side. A pendant light, a smoke detector or a downlight positioned close to the old opening can also need to move a little to sit clear of a new frame or a wider reveal, particularly where the opening is being upsized rather than swapped like for like. None of this is unusual, but it is worth raising at survey stage rather than discovering it on the day, since it changes how much of the ceiling around the opening is disturbed, not only the reveal itself.
The age of the ceiling itself plays a part too. A newer plasterboard ceiling in one of the townships around Bretton, Orton or Werrington usually takes a fresh skim without much fuss, since the board underneath is flat and consistent. An older lath and plaster ceiling, more common in the city's Victorian terraces, can be less predictable once disturbed: cutting back to a clean edge sometimes reveals a wider area that needs support than the reveal alone suggests, and that is worth flagging as a possibility at survey rather than a certainty, since every ceiling behaves a little differently once it is opened up.
Where Building Control fits into the finish
Building Control does not sign off decoration, but it does have a bearing on what the finished opening looks like from inside. Insulation around the reveal has to meet current standards, and on a job that upgrades the opening rather than simply swapping the glass, that insulation sits within the reveal build-up itself, which affects how deep the finished lining ends up and how it is detailed at the corners. Safety glazing requirements can also decide details such as whether a low-level reveal needs a guard or barrier considered alongside the finish, depending on the room and the height of the glass above the floor.
We handle the Building Control notification where the work is notifiable, and the unit and its surrounding build-up go in to current Building Regulations either way. What Building Control checks on a new rooflight sets out the individual points in full, and does replacing a skylight need Building Control? answers the narrower question of when a straight swap needs notifying at all.
What is left once the job is finished
A finished job leaves the reveal filled, skimmed and sound, the ceiling edge around it made good to match, and the room cleared of dust sheets and debris before we leave. What it does not leave is a fully decorated room: the final coat of paint, matched to the rest of the ceiling and walls, is a separate step once the new plaster has had time to dry properly. What happens to my old rooflight when it is replaced? covers the other end of the job, what becomes of the unit that comes out, alongside this account of what is put back.
Every quote we give includes a sightline sketch first, a drawing of the view from the bed, the sofa or the sink showing where the frame edges and any bar will fall, so the finished opening is agreed before the roof is touched rather than discovered once the plaster is dry. See the sightline sketch: how we plan the view. The work carries a 10-year workmanship guarantee, and if you would like your own roof surveyed, book a home visit or message us on WhatsApp.
Living with the room while it finishes
Can I paint the reveal myself once the plaster is skimmed?
Yes, once it has had time to dry through. A mist coat, a thinned first coat of emulsion, is the usual way to seal new plaster before a full colour goes on, and it shows up any small imperfections while they are still easy to touch in.
How long should I leave the room before decorating around the new opening?
As a guide, allow a week or so for a rebuilt reveal in a normal, ventilated room, and longer in a cold or damp one. A simple relined reveal on a like-for-like swap often dries faster, since less new plaster is involved.
Will the new reveal match the existing ceiling colour straight away?
Not until it is painted. New plaster reads paler and flatter than an older, painted ceiling until it has its own coats, so expect a visible difference until decoration is finished, not an exact match on the day the job ends.
Do you make good the ceiling if a light or detector has to move?
Yes. Where a fitting near the opening needs to move to clear a new frame or a wider reveal, the old position is made good along with the rest of the disturbed ceiling, ready for the fitting to be reinstated or replaced.
Keep reading
 GuideSigns Your Skylights Are Due for ReplacementThe clues that show a skylight has reached the end of its life, from trapped condensation to a frame that no longer sits square.
 GuideUpsizing a Rooflight Opening: What Is InvolvedWhat it takes to make a rooflight opening wider: new timber, a structural check, Building Control, and the extra sky it buys.
 GuidePlacing a Rooflight Over the Bed for a View of the SkyHow to place a rooflight above the bed so you see open sky from the pillow, not a frame edge or a bar across it.
Book a home visit
Tell us which room
- No obligation
- Sightline sketch included
- 10-year guarantee
Or call 01733 736163