Guide
What Happens on Rooflight Installation Day
From dust sheets going down to the last check on the reveal, here is the order a rooflight or skylight installation day actually runs in.

Most of the questions we get before a job are really one question in disguise: what is actually going to happen in my house on the day. Here is the honest run of it, roughly in order, for a typical rooflight or skylight installation in Peterborough, whether that is a straight swap of an old unit or a new opening cut into a roof that has never had glass in it before.
Before the tools come out
The first hour of any fitting day happens indoors, not on the roof. Nothing gets cut or lifted until the room is protected and the route through the house is covered, because the mess of an installation is dust and grit, not paint or plaster splash, and dust travels further than people expect.
- Furniture pulled clear of the working area, or covered where it cannot be moved
- Dust sheets down on the floor, and along the landing or stairs the fitters will use
- Anything on nearby walls or shelves taken down before the ceiling is opened
- Any light fitting or smoke alarm near the opening noted, so it is not knocked while the plasterboard comes down
Only once that is done does anyone go up a ladder. It is a dull half hour to watch, but it is the difference between a tidy job and one where dust sits in the carpet for a fortnight after we have gone. If a mess inside the house is your worry going in, it is worth reading about what fitting a rooflight actually disturbs indoors before the day arrives.
Getting up to the opening
How we reach the roof depends on its height and pitch, and it is decided at survey, not guessed at on the day. A steep pitch or a second storey usually means a scaffold tower going up first thing, hired and built before the fitting crew starts on the glazing itself. A straightforward single-storey pitch can often be reached with roof ladders hooked over the ridge, moved along as the work moves.
Some pitched roof windows can be fitted largely from inside the room, with only the tiles directly around the frame lifted from outside and the frame itself offered up and fixed from within. That is not true of every job: flat rooflights, lanterns and anything on a steep or awkward pitch still need proper outside access. Both routes are covered in more depth in when scaffolding is actually needed and which jobs can be fitted from inside.
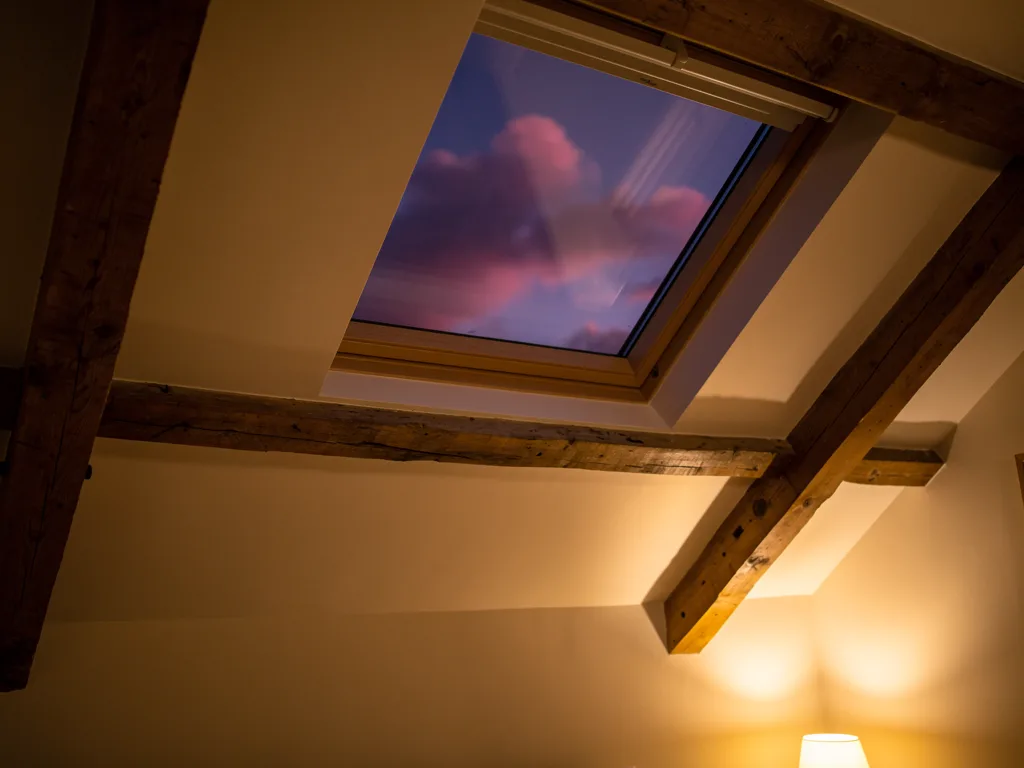
Taking out what is there, or opening a new hole
A replacement starts with the old unit coming out. The sealant and flashing around it are cut free, the frame is unscrewed from the trimmers behind it, and the whole thing is usually lifted out in one piece rather than smashed apart, because a clean lift keeps the opening square for the new frame. What happens to that old unit afterwards, glass and frame both, is set out in what we do with the rooflight we take away.
A first-time opening is a longer job. Tiles or slates are lifted back from the marked area, the felt is cut and folded clear, and the exposed rafters are checked against the plan agreed at survey. If the new unit is wider than the rafter spacing allows, one rafter is cut and a timber trimmer fitted each side to carry the load around the new opening, which is the point covered in what changes when an opening is made bigger. Either way, the roof is never left open overnight. A board or tarpaulin goes over any gap the moment the crew stops for the day, whatever the forecast says.
Setting the frame square and true
With the opening clear, the new frame or kerb is offered up dry before anything is fixed, so it can be checked against the timber rather than against the old sealant line. The order runs roughly like this:
- The frame is set into the opening and packed level side to side
- It is checked square to the roof slope, not just level to a spirit bubble
- Shims take up any gap between frame and trimmer so the fixing does not pull the frame out of true
- Screws or brackets go through the frame into the trimmers, at the centres the manufacturer specifies
A frame that goes in slightly out of square will still look wrong from below years later, because the eye reads the sky against the frame edge, not against a spirit level. Getting this stage right is most of what decides whether the view matches the sightline sketch we drew at the quote.
Insulation goes in around the frame at the same stage, packed into the gap between frame and trimmer before the reveal is closed up. A gap left unfilled here shows up later as a cold edge and, on a still night, as condensation forming on the plaster nearest the glass rather than on the glass itself, so it is worth doing properly while the frame is still open to view from both sides.
Lifting the glass into place
Most units arrive pre-glazed from the factory, sealed unit and frame as one, and are lifted into the set frame rather than glazed on site pane by pane. Anything larger than a small roof window is a two or three person lift, both for the weight and to avoid flexing the unit as it goes in.
The glass sits on setting blocks so its weight bears evenly rather than on the sealant alone, and it is fixed with the clips, cover caps or screws the manufacturer supplies rather than anything improvised. Safety glass, usually toughened or laminated depending on the fall below, is specified at the quote stage, and the choice between glass types for clarity and warmth is covered in what the different rooflight glass options actually give you.
Making the roof weathertight again
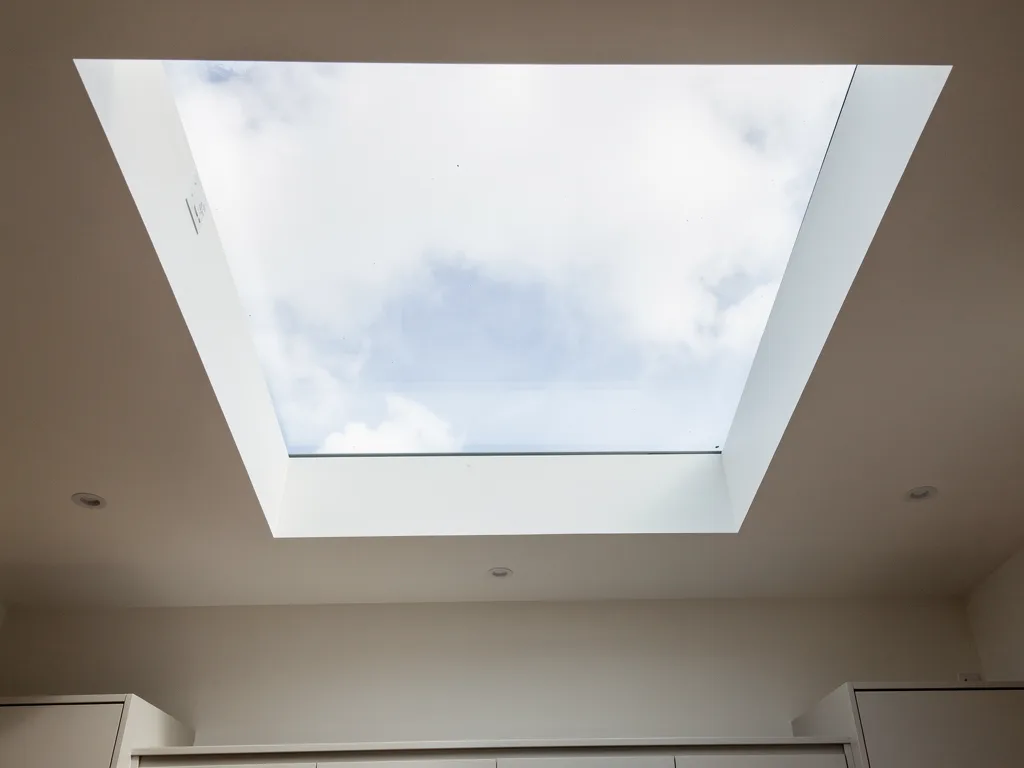
Glazing is only half the job outside. Around a pitched roof window, a flashing kit dresses the join between frame and tiles: an apron under the bottom edge, soakers down each side tucked under the tiles, and a head flashing at the top that the felt laps behind rather than over, so water runs down and out rather than finding a way in behind the frame. On a flat rooflight, the membrane is dressed up and over the kerb rather than flashed, with a fall built in so water runs off rather than sitting against the glass.
Tiles or slates that were lifted are cut where needed and relaid around the unit, matching the surrounding coursing rather than leaving an obvious patch of new material. This stage is checked before anyone climbs down for the last time that day, because it is far easier to correct a lap that is sitting wrong while the ladders are still up.
A minute spent looking up, before anything closes
Before the reveal below is lined and plastered, someone stands roughly where the bed, sofa or sink will be and looks up through the new glass. This is the point where the sightline sketch either matches what is actually there or does not, and it is far cheaper to notice a bar sitting a hand's width off from where it should be now than after the ceiling is closed up.
What that check is looking for, in plain terms, is set out in how frame depth and bar position change what you actually see, and the sketch it is measured against is explained in full on the sightline sketch page.
Notifying Building Control while the work is fresh
Where the job is notifiable, which most rooflight installations and replacements are, we handle the Building Control notification ourselves rather than leaving it to the homeowner to chase. In practice that means the notification is submitted around the fitting date, and in some cases an inspector visits while the opening is still accessible, before the reveal is boarded and plastered over, since that is the point at which insulation and structural work can actually be checked.
What gets looked at and when a job counts as notifiable in the first place is explained in what Building Control actually checks on a new rooflight and, for straight swaps specifically, in when a like-for-like replacement needs notifying at all.
Plaster, paint prep and the reveal inside
Once the roof outside is weathertight, work moves back indoors to the reveal, the lined opening between the ceiling and the underside of the glass. It is re-boarded or replastered to the shape agreed at the quote, whether that is a square reveal or a splayed one that opens the view out wider than the frame itself. Corners are finished and the surface is left ready for a mist coat and final decoration, which is left for the plaster to dry properly rather than rushed on the same visit. What that stage involves in more detail, and what is left for the homeowner to do afterwards, is covered in making good the reveal after a rooflight goes in.
Clearing the site and handing the room back
The last hour undoes the first one. Dust sheets come up, offcuts of tile, timber and old sealant are bagged and taken away rather than left for a skip collection days later, and the floor is swept and, where it needs it, vacuumed before anyone leaves. Anywhere access ran through the house, that route is checked as carefully as the room itself.
If the unit has an electric opener, remote control or rain sensor, that is the point it gets shown working rather than left for a manual to explain. The paperwork for the 10-year workmanship guarantee is handed over at the same time, along with anything Building Control needs signing off later once plaster has had time to dry out.
How long the day actually runs
A single roof window replacement, straightforward access, no rafter cutting, is usually a one-day job start to finish. Add a new opening, a flat rooflight with a kerb to build, or more than one unit in a run, and it moves to two days, with the roof made weathertight on day one and the inside finished on day two.
| Stage | Roughly how long | What you would notice |
|---|---|---|
| Protecting the room | 30 to 60 minutes | Sheets down, furniture moved |
| Opening the roof | 1 to 3 hours | Tiles off, noise from outside |
| Fitting and weathering | 2 to 4 hours | Glass in, flashing dressed |
| Making good inside | 1 to 2 hours, plus drying | Plaster finished, dust cleared |
Weather sets the pace more than anything else. Wind is a bigger problem than rain for access, since a scaffold tower or roof ladder becomes unsafe to work from in a strong gust long before rain would stop the job. How that plays out across the year, and why a rooflight can still go in during most months provided the opening stays covered, is covered in what time of year suits an installation best, and a fuller breakdown of timing across different job types is in how long a skylight replacement actually takes. For the full range of rooflight and skylight work we cover across the city and the villages around it, see our rooflight and skylight installation service for Peterborough.
Loose ends worth settling before the fitting date
Do we need to leave the room while the work happens?
Not usually. The room stays yours between visits from the fitters, and you can stay in the house through the day. The main thing to plan around is noise from cutting and drilling directly overhead, which is not pleasant to sit under for hours at a time even if it is not dangerous.
What happens if the weather turns partway through?
The opening is never left uncovered when the crew stops, whatever stage the job has reached. If rain or high wind stops outside work for the day, the roof is sheeted over and the remaining stages are picked up on the next suitable day rather than pushed through in conditions that are not safe to work in.
Can the room be used again that evening?
Once the reveal is boarded or skimmed, the room is generally safe to use straight away, though a freshly plastered reveal needs time to dry before it takes paint. Anything electrical connected to an opening unit is tested before the fitters leave, so it is working, not left half-connected overnight.
Does every job need an electrician on site?
Only where the unit itself is electric, such as an opening rooflight, a remote-control blind or a rain sensor. A fixed, non-opening rooflight or roof window involves no electrical work at all, and that difference is usually settled at the quote stage rather than decided on the day. Where a cable does need running to the unit, it is planned into the same visit rather than left as a separate job, so there is only one set of dust sheets to put down and one day out of the room, not two.
Keep reading
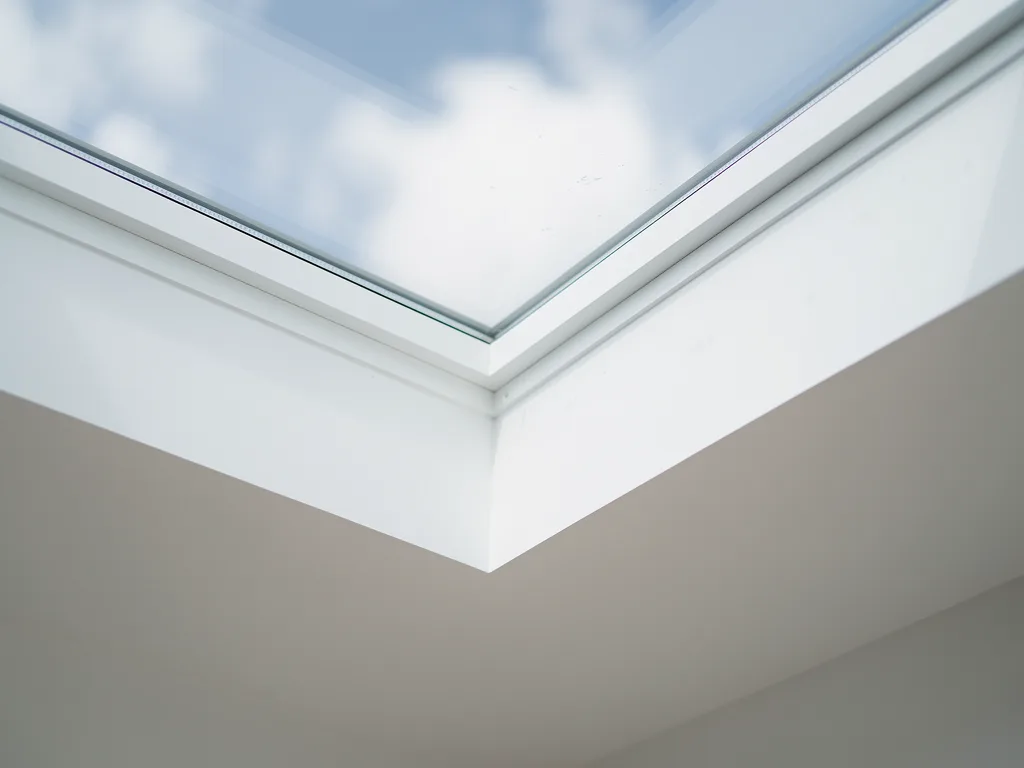 GuideWhat Building Control Checks on a New RooflightThe parts of the Building Regulations a new rooflight has to satisfy, from structure and heat loss to safety glass and notification.
 GuideRooflight Permitted Development and Planning PermissionA plain guide to when a new rooflight is permitted development, and when Peterborough City Council needs a planning application first.
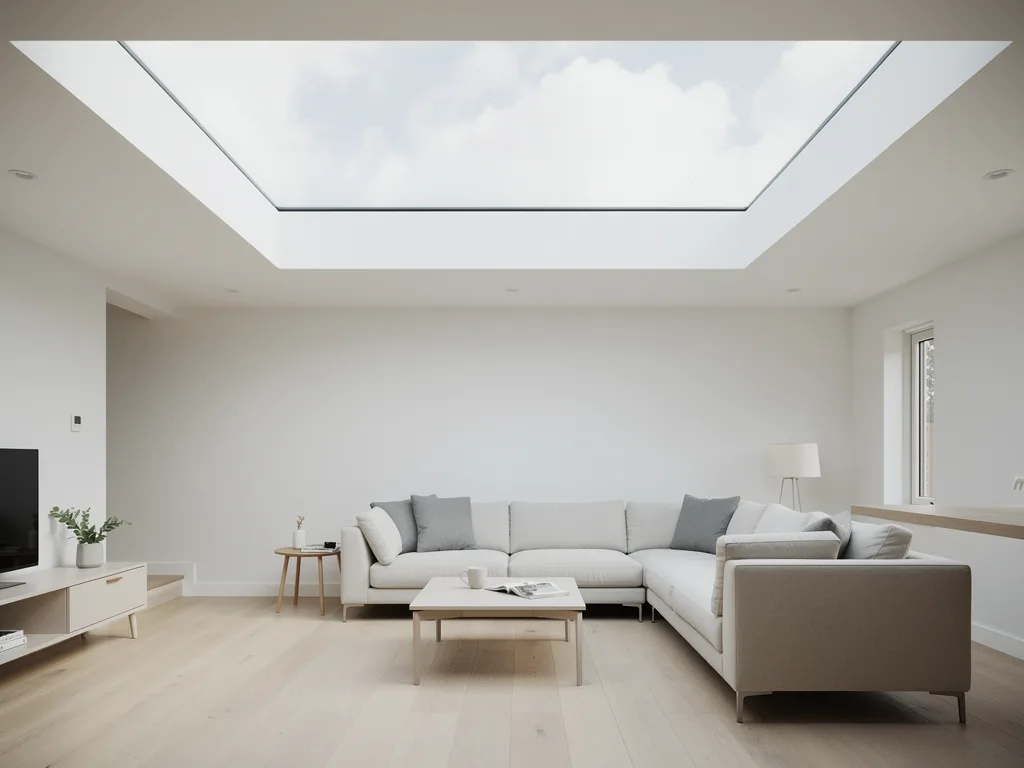 GuideSkylight Orientation: North, South, East and West-Facing RooflightsHow north, south, east and west-facing slopes change the light, glare and view through a rooflight.
Book a home visit
Tell us which room
- No obligation
- Sightline sketch included
- 10-year guarantee
Or call 01733 736163